








































Most attempts to make a clear resin sculpture fail before the resin ever reaches the mold. The wrong bottle goes into the cart, the pour goes in too deep, and the piece that should read like glass comes out milky, cracked or the color of weak tea. Clarity is a chain of small decisions, and every one of them happens earlier than people expect.
We work with cast resin alongside bronze, stainless steel and stone at Giant Sculptures, so we see both sides: the hobby pour that cooked itself in a hot garage, and the finished studio piece that holds its clarity in a sunlit apartment. If you want to make a clear resin sculpture that stays clear, here is what separates them.

Quick Answer
Use casting (deep pour) resin, not coating or tabletop resin, for anything thicker than a fraction of an inch.
Respect the maximum pour depth on the label; build thick forms in layers.
Warm the resin, mix slowly and use a pressure pot to kill bubbles.
Expect to wet sand and polish; the mold rarely gives you a finished surface.
Keep it out of direct sun, or accept slow yellowing.
To Make Clear Resin Sculpture Forms, Choose Casting Resin Over Coating Resin
Coating resin is thick, cures fast and is formulated to self-level in thin layers, typically around 1/8 inch (3 mm). Pour it two inches deep and it will overheat. Casting resin is thinner, slower and built to release heat gradually, which is why it suits solid forms.
Read past the word "clear" on the label. Every brand claims it. When you make a clear resin sculpture, what matters is the stated maximum pour depth, the cure time and whether the formula includes UV stabilizers. If the data sheet does not list a pour depth, buy something else.
Pour Depth and Exotherm: Why Thick Pours Crack, Cloud or Cook
Epoxy cures through a chemical reaction that gives off heat, and heat speeds the reaction further. In a thin layer the warmth escapes. In a deep block it builds until the resin cracks, ripples, turns yellow or even smokes. A cold workshop can tip the other way, leaving a hazy, soft cure.
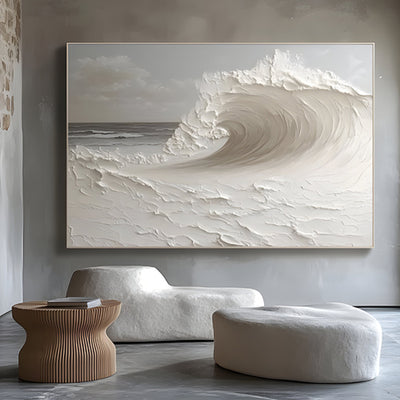
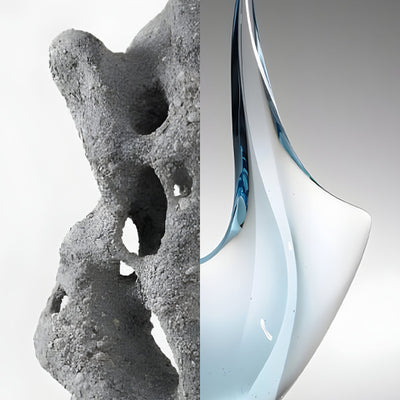
The fix, whenever you make a clear resin sculpture thicker than an inch or so, is patience. Pour in layers within the manufacturer's limit, let each one gel before adding the next, and keep the room at a steady, moderate temperature. At roughly 41 inches (105 cm), a wave form such as the Aqua & Clear Twin Crest Wave Cast Resin Sculpture - 105cm is well past single-pour territory: thick crests and thin edges cure at different rates, and only careful staging keeps the clear sections clean against the color.
Thick forms are built in staged layers, each one allowed to gel before the next pour.

Bubbles Are Born in the Mixing Cup
Anyone trying to make a clear resin sculpture learns this fast: most bubbles are whipped in by the stirring stick. Mix slowly for the full time on the label, scraping the sides and bottom, and avoid lifting the stick in and out. Warming the sealed bottles in a basin of warm water before mixing thins the resin so trapped air rises more easily.
For serious clarity, a pressure pot does the heavy lifting. Curing under pressure squeezes remaining bubbles until they are too small to see. A warm mold helps too, because cold silicone thickens the resin right at the surface, exactly where bubbles show most. A quick pass with a heat gun handles anything left on the open face.
Silicone Gives You the Shape, Polishing Gives You the Glass
A platinum-cure silicone mold copies its master faithfully, including every sanding scratch. A glossy master gives a glossy cast; a matte one gives frosted resin. Even good molds leave seam lines and slightly dull patches.
If you want to make clear resin sculpture pieces with true glass clarity, plan on wet sanding through progressively finer grits, often from around 400 up past 3,000, and finishing with a plastic polishing compound. Some makers skip the final stages by brushing on a thin flood coat of coating resin, which is exactly the job that product is made for. On small, crisp forms the support matters as much as the subject: with a piece the size of the Blue Rimmed Disc on a Clear Stand Resin Sculpture - 30cm, about 12 inches (30 cm), a clear base shows every swirl mark, so the stand needs as much polishing time as the disc itself.
Wet sanding through fine grits is where a cloudy cast turns glass-clear.

UV Is the Slow Thief: Where Clear Resin Yellows First
Sunlight breaks down epoxy over time, and the damage shows first in the thickest clear sections and on faces turned toward a window. Thin edges hide it longer. The Getty Conservation Institute's research on preserving plastics is a useful reminder that even museum collections cannot stop polymer aging, only slow it.
The pattern is predictable. Place a clear-and-amber piece beside a west-facing glass wall and the clear zones on the sunny side will warm in tone long before the shaded back shows any change. Rotating the piece now and then and adding UV-filtering window film both slow the process. Better still, if you make a clear resin sculpture for a bright home, start with a UV-stabilized resin, place the work away from direct afternoon sun, and keep clear resin indoors.
The Size and Weight Where DIY Resin Stops Making Sense
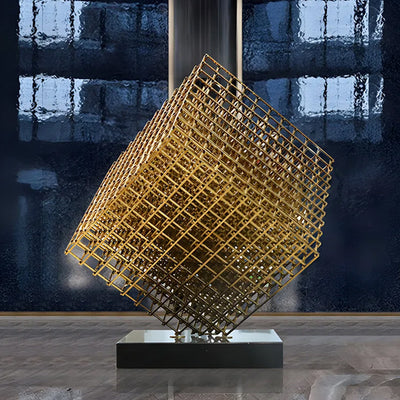
Cured epoxy weighs a little more than water. A solid 12-inch cube comes out around 72 pounds (about 33 kg), and the heat from that much resin poured at once would be dangerous. That is the honest limit on how to make clear resin sculpture work at home: tabletop scale is achievable, but anything larger needs hollow casting, internal support and a controlled cure.
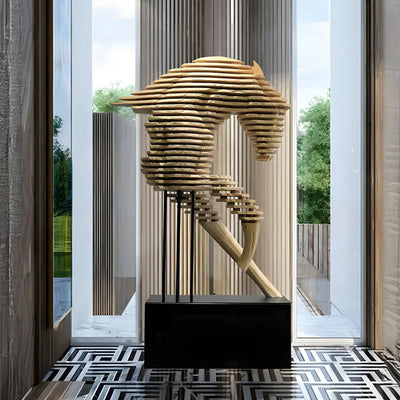
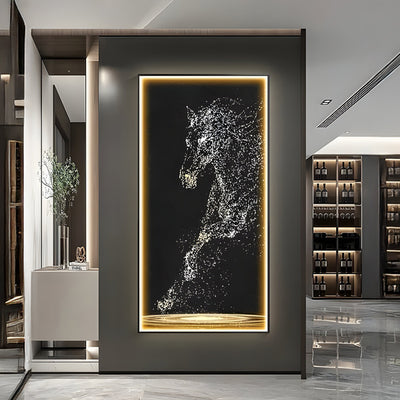
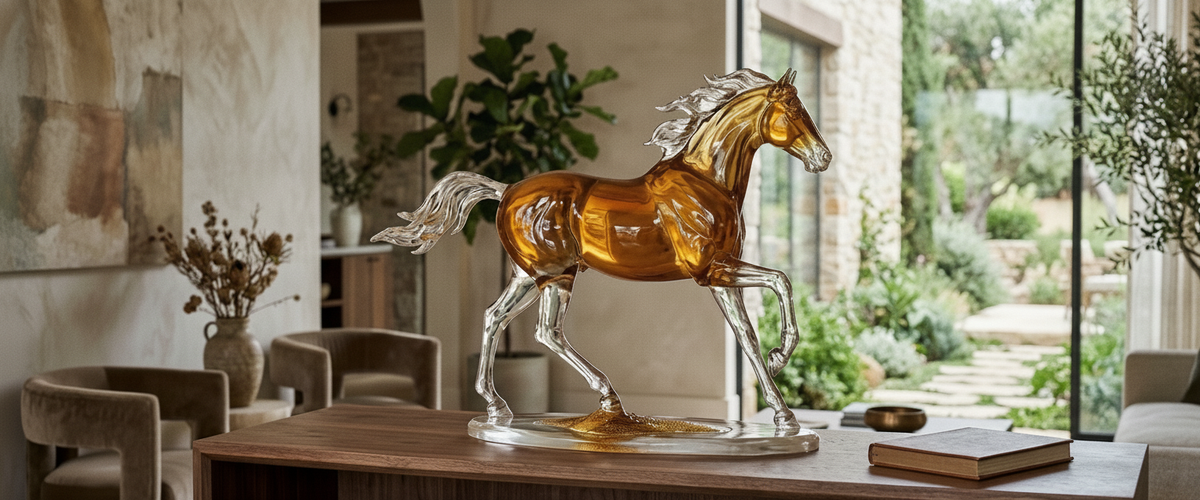
Once a design puts slender legs under a heavy body, as with the Amber & Clear Galloping Horse Resin Sculpture - 84cm at roughly 33 inches (84 cm), balance becomes an engineering problem as much as a casting one, and that is usually the point where commissioning makes more sense than pouring. If you are weighing whether to make or commission a clear resin sculpture, use these criteria:

Size: beyond a few inches thick, a home pour risks cracking and yellowing.
Load: thin supports under heavy masses need internal reinforcement.
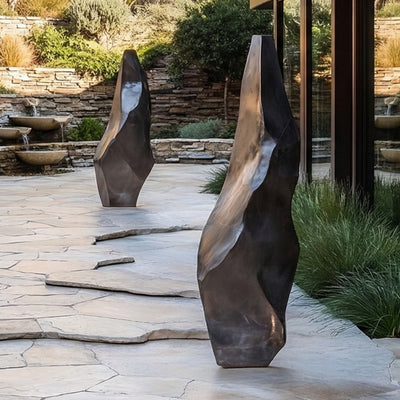
Location: sunny rooms and outdoor settings point toward contemporary stainless steel or bronze, not resin.
Finish: a gallery-grade polish takes hours of skilled sanding.
Budget: cost depends on material, scale, complexity, engineering, installation and finishing, so request a tailored quote.
If you would rather not make a clear resin sculpture yourself, our resin sculptures collection shows what finished studio casting looks like, or talk to us about a bespoke commission sized to your space.
Before You Pour: A Clear Resin Checklist
Casting resin with a listed maximum pour depth
Gloves, respirator and good ventilation
Resin warmed, mold warmed, room stable
Slow mix for the full stated time
Pressure pot or heat gun ready
Sandpaper through fine grits plus polishing compound
A planned spot out of direct sunlight
Once you make a clear resin sculpture you are proud of, where it sits matters as much as how it was poured. For wider placement ideas, Why Large Resin Garden Sculptures Blow Over, and How to Anchor Them is useful companion reading before finalizing the setting and sightlines.