





























































The eye decides in about a second, and with most cast stone it decides "plastic." If you want to make stone resin sculptures that survive a close look on a terrace in Austin or in a Tribeca lobby, the important choices are made long before the final polish. They happen in the filler ratio, the mold, and the thin first layer brushed into it. We see the results of good and bad decisions every week, because buyers send us photos of pieces that failed and ask whether we can do better.

Key Takeaways
Filler sets the ceiling. Real stone powder in the resin decides weight, touch and how convincing the surface can ever be.
Silicone holds texture. Chisel marks and undercuts survive a silicone mold backed by a rigid jacket.
Put the stone where it shows. A heavily loaded face coat does the visual work; lighter backing does the structural work.
Cracks are often delayed. Cure heat and shrinkage can surface as hairlines a week after demolding.
Rub back, don't paint. Exposing real stone particles is what separates a gallery piece from a garden-center cast.
How to Make Stone Resin Sculptures: Start With the Filler Ratio
Cold-cast stone is resin, usually polyester or epoxy, loaded with ground stone: marble dust, crushed granite, slate powder or calcium carbonate. The more filler the mix carries, the heavier, cooler and more mineral the finished surface feels. Push it too far and the resin can no longer wet every particle, so the cast turns chalky and weak. Anyone learning how to make stone and resin sculptures should treat the supplier's maximum loading as a hard limit, then test small tiles at several ratios before committing a full pour.
Low loading is where the painted-plastic look comes from. A cast with a dusting of filler has to be colored afterward, and paint sits on top of the form instead of inside it. When studios make stone resin sculptures for clients who will touch them, the stone has to be in the material itself.
Silicone Mold or Plaster Jacket: Which Keeps Undercuts and Chisel Texture
Both, if you make stone resin sculptures to a professional standard. Platinum or tin-cure silicone picks up the finest tool marks from the original carving or clay and flexes around undercuts so the cast can be released without tearing. Silicone alone is floppy, though, so it sits inside a rigid mother mold, or jacket, of plaster or fiberglass that holds the geometry true. Manufacturers such as Smooth-On publish compatibility notes worth reading, since some resins inhibit or stick to certain silicones.
A plaster waste mold, chipped away after a single cast, still has a place for one-off pieces with deep returns. It costs you the mold and some crispness in fine texture, which matters more on stone finishes than on smooth abstract forms.

The Face Coat: Loading Stone Where It Is Actually Seen
The face coat is a thin, heavily filled layer stippled into the mold first. Brushing it on drags air into the texture; dabbing it pushes stone into every chisel groove. When you make stone resin sculptures, this is the only layer anyone ever looks at, so it gets the expensive filler and the most care. Let it reach a tacky gel before anything goes on behind it. Fully cured and it will not bond; still wet and the backing will push through and show as pale blotches.
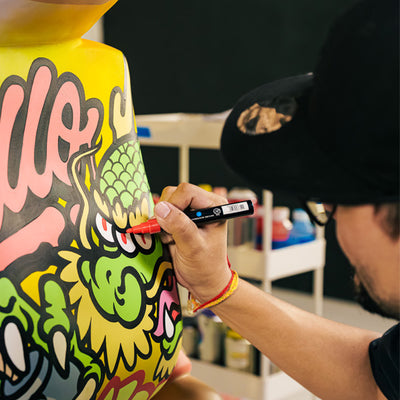
Dabbing, not brushing, pushes stone-loaded resin into every chisel groove of the mold.
Backing Up Without the Two Layers Parting
Behind the face coat goes lighter fill: resin with a lighter mineral filler and chopped glass strand or fiberglass mat for strength. The risk is delamination, where the stone skin and the structural shell separate. In the studio we tap every finished cast with a knuckle. A dull, hollow note over a patch means the layers have parted, and that patch will eventually crack or lift outdoors as the two layers expand at different rates.
Cure Heat and Shrinkage: The Hairline Cracks That Turn Up a Week On
Resin cures by generating heat, and thick sections get hotter than thin ones. Polyester also shrinks more than epoxy as it cures. Pour a dense base in one go and you can lock stress into the casting that shows up days later. We learned this on a run of tall columns: perfect at demolding, then fine hairlines along the thickest section after a week in a cold shipping container. Building up in layers, keeping sections even and post-curing at a steady temperature fixed it. Polyester also gives off styrene, so ventilation and respiratory protection are not optional; OSHA's styrene guidance is the sensible baseline.
Rubbed Back, Never Painted: Finishing That Avoids the Garden-Center Look
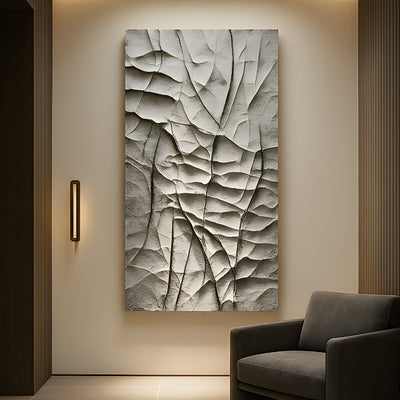
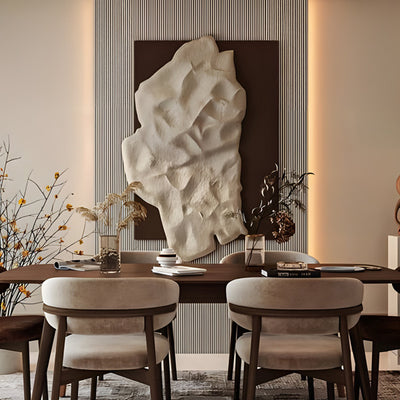
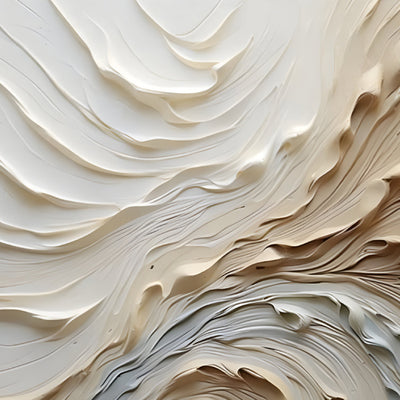
Every cast comes out of the mold with a thin resin skin over the stone. Leave it and you have a shiny plastic surface. Rub it back with fine wire wool and wet-and-dry paper and the real stone particles break through, catching light the way carved stone does. A patina or wax goes on afterward, not paint. Studios that make stone resin sculptures well often spend longer on this hand-finishing stage than on the casting itself.
Rubbing back the resin skin lets real stone particles catch the light like carved stone.

Buying Rather Than Making: A Commissioning Checklist
Most of our clients have no plans to make stone resin sculptures themselves; they want to know a commission will age well. Scale changes the engineering. At roughly 10.5 feet (320 cm), a long span such as the Frosted Stone Form Resin & Steel Bench - 320cm depends on internal steel, not resin alone, to stay true. Ask your maker about:
Filler type: real stone powder, and whether it is in the face coat or only painted on.
Armature: steel or stainless reinforcement for anything tall, cantilevered or load-bearing.
UV exposure: resin system and coatings rated for full sun in places like Arizona or Napa.
Fixing: how the piece anchors to a plinth or slab against wind.
Finish: rubbed back and waxed, with a care routine you can actually follow.
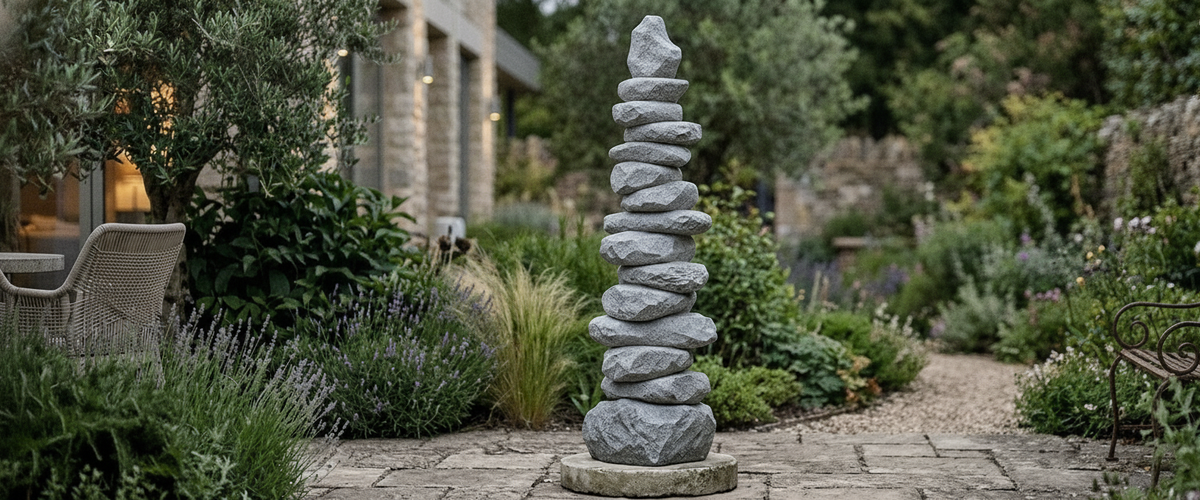
Not every brief needs resin to pass for carved stone. Where the setting calls for geology in the silhouette rather than in the surface, an openly colored piece such as the Green Stacked Rock Column Resin Sculpture - 106cm keeps the stone reference in the form and lets the material read honestly as resin.
For interiors, where UV and frost are not in play, pairing stone with clear resin can be a deliberate choice rather than a disguise; at side-table scale, a piece like the Grey Stone & Clear Resin Block Side Table - 40cm lets the two materials contrast instead of pretending to be one. For a permanent outdoor centerpiece meant to outlast its owner, we will often steer clients toward bronze, Corten or carved stone instead. Budget depends on material, scale, complexity, engineering, installation and finishing, so request a tailored quote. Browse our resin sculptures or the wider Giant Sculptures range to compare finishes before you brief a bespoke commission.
For wider placement ideas, What a Stone Resin Sculpture Really Is, and Where It Belongs is useful companion reading before finalising the setting and sightlines.