





































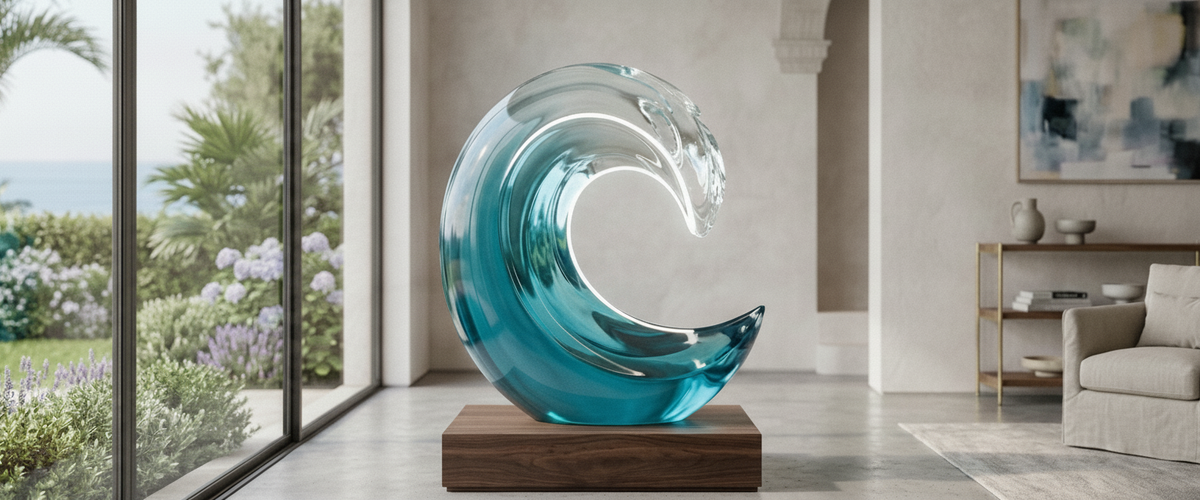

The crest is where a resin wave sculpture tells the truth. Almost any maker can get a broad base looking glassy. The thin, curling lip at the top is different: bubbles hide there, sunlight damages it first, and a careless pour shows up there as a hairline crack months later. If you are buying a resin wave sculpture for a living room in Austin or a pool house in Palm Beach, read that edge before you read the quote.
Key Takeaways
Cast, poured and carved resin each leave a different signature on the crest.
Bubbles and stress cracks gather at the thinnest point of the lip.
UV yellowing starts at translucent tips. Tinted and bronze-finished crests hide it for longer.
Backlighting makes a clear crest glow. Overhead light flattens it.
Outdoors, exposed crests fail first. Large spans belong in fiberglass or stainless steel.

Poured, Cast or Carved: What the Crest Gives Away
Cast resin goes into a mold, so the lip carries crisp, repeatable detail. You can often find a faint seam on the underside with a fingertip. Poured work is built up in layers and tends to have softer, rounder edges. Tilt it against the light and you may see faint strata. Carved or machined pieces start as a solid block, so the crest has a faceted, polished clarity and the color reads as depth rather than surface.
The quickest test is to hold the crest up to a north-facing window. Layering lines and seam ghosts show within seconds. At tabletop scale the check is even easier: on a compact cast wave such as the Blue Breaking Wave Resin Sculpture - 54cm (54cm, about 21 inches), the lip sits close enough to eye level that seam lines and edge bubbles are easy to spot before you decide where it lives.
Daylight through the lip reveals seams, layering and trapped air within seconds.
Thin Edges, Thick Problems at the Lip
Resin cures by generating heat, and that heat moves unevenly through a shape that runs from a thick base to a crest only a fraction of an inch thick. Trapped air often ends up near the lip, and internal stress concentrates there as well. A bubble in the base is cosmetic. One sitting just behind a thin edge is a weak point. It can chip if the piece is knocked, or open into a crack when the room temperature swings. When you inspect the crest, look for:
Bubbles within a finger's width of the edge
Frosted or white lines (crazing) running inward from the lip
Repairs that look slightly duller or cloudier than the surrounding resin

Why UV Yellowing Starts at the Tip
Many clear casting resins, epoxies in particular, discolor under ultraviolet light. The crest has the most exposed surface for the least mass, and light passing through it shows any shift against the clearer body behind it. Conservators have documented this kind of light-driven plastics degradation for decades. The Canadian Conservation Institute publishes accessible guidance on how light affects collection materials.
The pattern is easy to recognize. A clear piece placed on a sunny, glass-walled stair landing will often show a faint straw color at the tip while the shaded base still looks water-clear. Ask for UV-stabilized resin. Then treat a south- or west-facing window as a risk rather than a showcase, or add UV-filtering film to the glass.
Clear, Tinted or Bronze-Finished: How Each Crest Behaves in Daylight
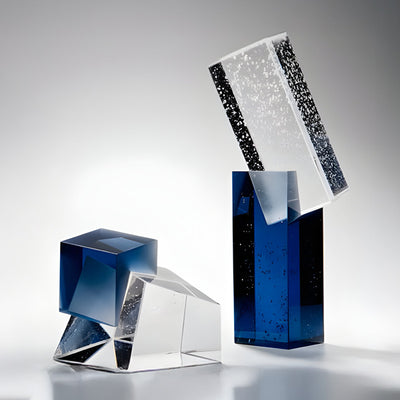
Clear crests are the purest and the most exposed. They read as frozen water but show every flaw and every hint of yellowing. Tinted resin reads deeper in thick sections and paler toward the lip, much like a real breaking wave. In a room that gets genuine daylight, an aqua-to-clear gradient such as the Aqua & Clear Twin Crest Wave (105cm, about 41 inches) is a safer choice than a fully water-clear crest, because the color masks early UV shift for longer.
Bronze-finished resin carries an opaque metallic coating. It blocks light, so the piece behaves like a sculpted object rather than a lens. It also reads heavier. UV resistance improves, but watch the lip. A chip in the coating there exposes pale resin, and touch-ups need a skilled finisher.

Backlight Versus Top Light: Making the Curl Glow
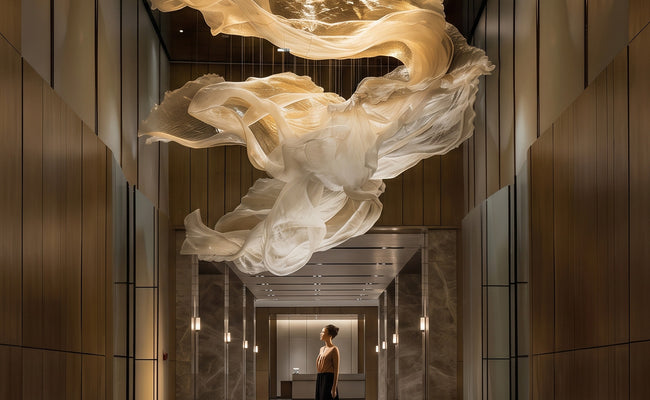
A clear or tinted crest only comes alive when light travels through it. Recessed downlights hit the surface, bounce off, and make the resin look like plastic. Place the light source behind and slightly below the crest instead: a window, a low LED strip on the plinth, or a lit niche. For a long, low curl on a sideboard plinth or along a window wall, a piece at the scale of the Blue & Clear Sweeping Wave Resin Sculpture - 192cm (192cm, roughly 6.3 feet) wants a linear light run along its base rather than a single spot, so the whole curl glows evenly. Bronze-finished crests are the exception. Graze them from the side so the texture reads.
A linear light run behind and below the curl lets the whole crest glow.
Poolside and Terrace: Where Exposed Crests Fail First
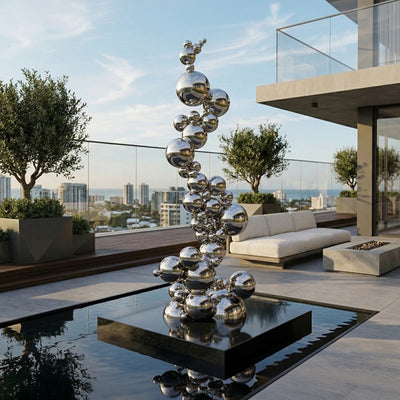
Buyers often picture a resin wave sculpture beside a pool. Outdoors, though, the crest takes the brunt of everything at once: direct sun, chlorine or salt spray, hot afternoons followed by cool nights, and wind catching the curl like a sail. If you love the look, a covered loggia or the inside of a glass wall gives you the view without the exposure. For open terraces, look instead at contemporary and modern sculptures in materials built for weather.
When a Resin Wave Sculpture Should Become Fiberglass or Steel
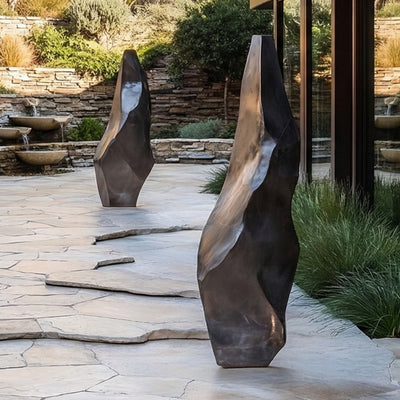
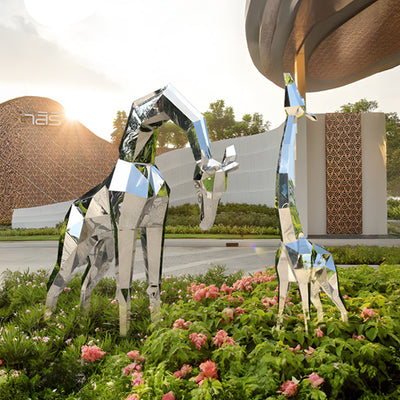
Solid resin is dense. Once a crest projects well beyond its base, the load at the root of the curl grows quickly. A fiberglass shell over an internal armature is far lighter and easier to repair. For true outdoor scale in a Hamptons garden or a hotel forecourt, polished stainless steel or bronze, engineered for wind load and properly anchored, will outlast resin by a wide margin. Giant Sculptures handles these as bespoke commissions, and we will tell you honestly when a design has outgrown resin.

Buyer Checklist Before You Commit
Ask how the piece was made: cast, poured or carved.
Inspect the lip in daylight for bubbles, crazing and repairs.
Confirm the resin is UV-stabilized, and check how much direct sun the spot gets.
Choose clear, tinted or bronze-finished based on light exposure, not only color.
Plan backlighting before the piece arrives.
For outdoor or oversized placements, request a structural review and a material alternative.
Budget depends on material, scale, complexity, engineering, installation and finish, so ask us for a tailored quote. You can start with our resin sculptures, or send us your space and we will tell you whether the crest you want should be resin at all.
For wider placement ideas, Clear Resin Sculpture for Sale? What the Listing Photos Won't Tell You is useful companion reading before finalising the setting and sightlines.