




































Most metal wave wall art fails in the same place: the curve starts with confidence, then flattens out before it resolves. You get a shape that photographs well from one angle and dies from every other. A wave is a rhythm, not a silhouette, and the difference between a piece that pulls a room forward and one that reads as an expensive metal squiggle comes down to a handful of things you can actually check before you buy.
At a glance:
Motion comes from repeated crest and trough intervals, not from one long S-curve.
Edges are the honest part of the piece. Look at them before you look at the shape.
On multi-panel waves, the gap between panels should not exceed the depth of the sheet.
Brushed finishes carry a crest; mirror finishes can flatten it under the wrong light.
Coastal metal wave wall art belongs to marine-grade stainless, not thin aluminum.

What Separates Real Motion from an Expensive Metal Squiggle
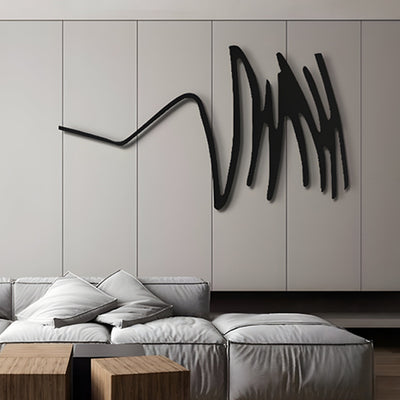
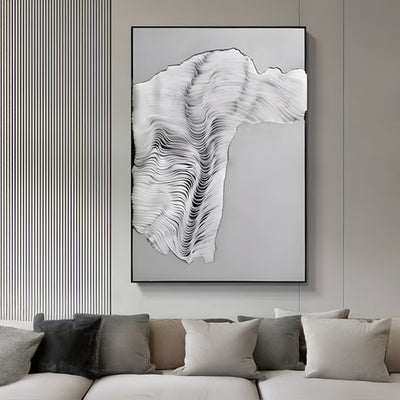
Water does not move in a single sweep. It builds, breaks, and rebuilds, and your eye knows that even when your brain is not paying attention. Convincing metal wave wall art repeats its curve at least three times across the run, with each repetition slightly different in height or spacing so the pattern never turns mechanical.
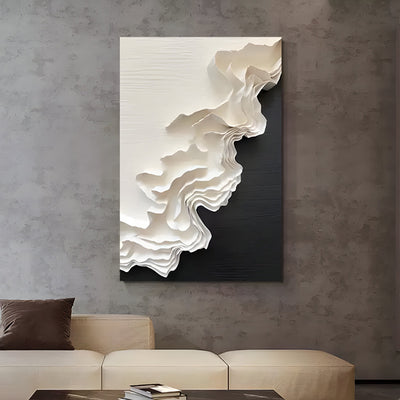
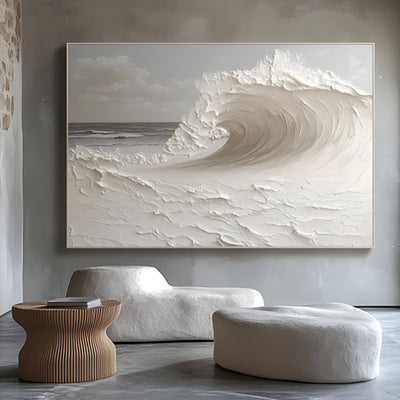
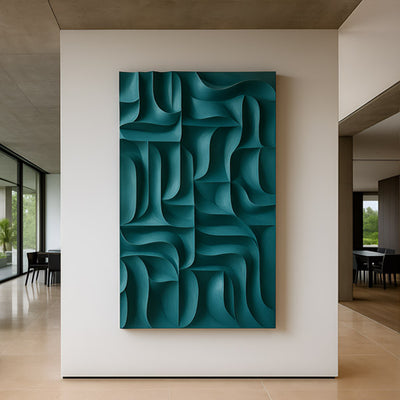
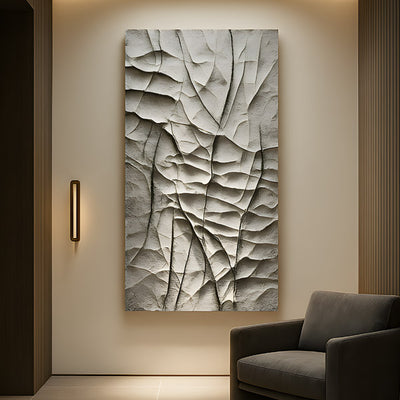
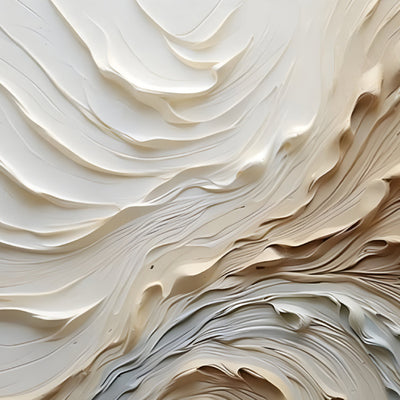
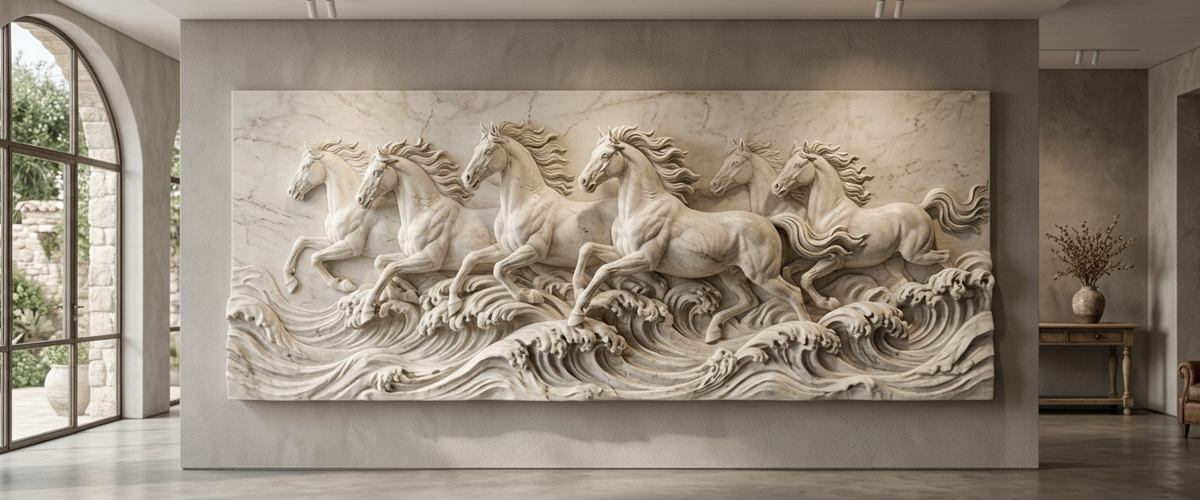
The second thing is depth. Flat cut sheet mounted at a uniform standoff gives you a drawing on a wall. The pieces that hold attention step forward and back, so the shadow moves as the sun crosses the room. That is why relief work has always outperformed flat panels in the same footprint. Stone makes the argument more bluntly than metal does: on Eight Horses Over Waves Cream Marble Relief Wall Art - 200cm, the surf still reads as surf from ten feet back because the undercutting is deep enough to throw genuine shadow rather than a printed-looking line. Metal wave wall art has to reach that same depth another way, through layered fins, folded sheet or forged section.
Crest, Trough and the Rhythm Interval
Crest spacing and trough depth decide whether metal wave wall art moves or sits still.
Ask the maker for the interval: the horizontal distance between one crest and the next. Get that number wrong and the piece reads flat no matter how good the metalwork is. Too tight and it turns into corrugation. Too loose and each curve becomes its own isolated event with dead wall between them.
Our rule of thumb in the studio is that the trough should sit noticeably lower than half the crest height, so there is a genuine dip rather than a gentle wobble. Vary the crest heights across the run by a modest amount and the whole thing starts breathing. Repeat identical crests at identical spacing and you have made a radiator cover.

Edge Quality Tells You Everything
Turn a sample of metal wave wall art over. Run a finger along the cut line, carefully. Laser-cut stainless leaves a fine striated edge and, on thicker plate, a slight taper and a dross line on the underside. Good makers grind and polish that back until the edge has a soft radius; lazy ones leave it sharp and let the finish photograph do the work.
Welds are the other giveaway. On a wave, the joints usually land on the inside of a curve where the eye is least likely to travel, and that is exactly where a rushed maker leaves a proud bead or a bloom of heat discoloration on stainless. A properly dressed weld should disappear into the grain direction. If you can find the seams from six feet away in raking light, you are looking at fabrication, not sculpture. Bronze has its own version of this test: chasing marks and patina have to run unbroken across a joint, and on something like Galloping Herd Bronze Relief Wall Art - 120cm the modeling carries over every seam without a visible interruption. That is the standard stainless metal wave wall art should be held to.
Multi-Panel Waves and the Gap Rule
Large runs of metal wave wall art almost always ship as multiple panels, both for freight and for install access. The risk is that the wave stops at each break. The gap between panels should be no wider than the depth of the sheet itself, so the eye reads a shadow line rather than a pause. Push the gap wider and you get three sculptures on one wall instead of one.
Alignment matters more than the gap. If panel two sits a quarter inch proud of panel one, every crest across the join loses its line. Specify a shared mounting rail rather than independent cleats, and insist on a dry fit at the studio before finishing. We learned that the hard way on a metal wave wall art commission for a Dallas office tower where the wall itself had a bow in it that no drawing had recorded.

Brushed or Mirror: Which Finish Supports the Crest
Brushed stainless is the safer choice for metal wave wall art because the grain can be run along the curve, which visually stretches the crest and reinforces direction. Satin holds shadow. Mirror polish does something quite different: it dissolves the form into whatever it reflects, which can be gorgeous in a double-height space with sky in the glazing, and confusing in a busy living room where the wave simply mirrors the furniture back at you.
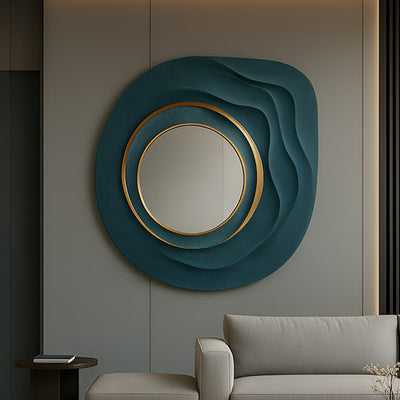
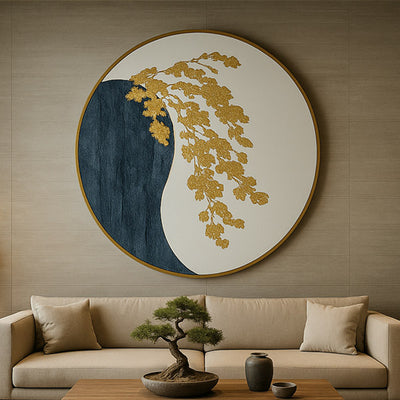
Mixed finishes are worth considering on wave wall art in metal. Polishing the crest faces and leaving the troughs brushed exaggerates the light break. Blackened or heat-tinted troughs do the same job in reverse. Where a wall wants color contrast doing that work rather than a single running grain, Aurelios Cosmic Blue Crystal Porcelain & Gold Orbit 3D Wall Art is closer to the right design language, with the gold reading forward and the deep blue holding back before any relief is registered. The same logic runs through our 3D wall art range, which is worth comparing against metal when depth perception is the deciding factor.
Where Metal Wave Wall Art Actually Fits
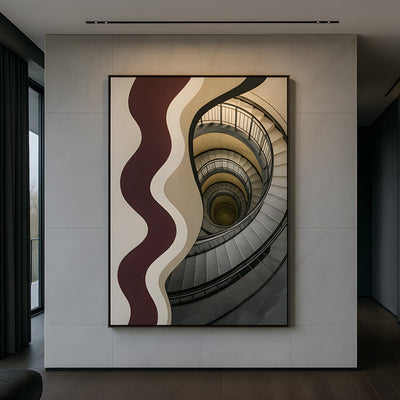
Stairwells suit metal wave wall art because the crests read differently from every landing.
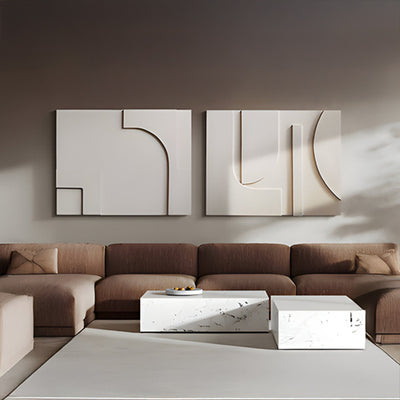
A wave needs horizontal room to finish its arc. Above a sofa, allow the piece to sit within roughly two thirds of the sofa width, and give it clear wall on both sides so the curve does not collide with a door casing. Stairwells are the best home for a wave because you see it from three heights as you climb, and the crest reads differently each time. Long corridors work too, as long as the viewer can step back at least six to eight feet (1.8 to 2.4 m) at some point along the run.
Avoid the narrow pier between two windows. Backlighting kills a sculpted wave; the form goes to silhouette and all your crest work vanishes. Side light, ideally from a single dominant source, is what makes the piece perform. For a Napa dining room we finished last year, moving the metal wave wall art from the window wall to the opposite one changed nothing about the sculpture and everything about how it looked.
Aluminum Versus Stainless Once Salt Air Gets In
Indoors, aluminum is a reasonable choice for metal wave wall art: light, easy to form, simple to hang on plasterboard. Take a thin aluminum wave to a beachfront terrace in the Hamptons or Malibu and you have a different conversation. Salt attacks thin section and mounting hardware first, and galvanic corrosion between dissimilar metals at the fixings will do damage long before the panel itself shows it.
For coastal and poolside work, we specify 316 marine-grade stainless with matched fixings. The molybdenum content gives it materially better chloride resistance than 304, which is why it dominates marine and architectural use near the water, as the Nickel Institute sets out in its guidance on stainless grades. Anodized aluminum is a legitimate middle path for sheltered exteriors; the Aluminum Association publishes useful material on coating performance. Just do not let anyone sell you mill-finish aluminum for an oceanfront wall.

Commissioning Checklist
Interval and depth: confirm crest spacing, crest height variation and total relief depth in writing.
Material and grade: 316 stainless for coastal metal wave wall art, 304 or bronze for sheltered exteriors, aluminum for interiors only.
Edge treatment: ask specifically for radiused, hand-ground edges rather than as-cut.
Panel strategy: gap no wider than sheet depth, shared mounting rail, dry fit before finishing.
Finish direction: grain run along the curve, not across it.
Wall build-up: stud locations, substrate type and load path confirmed before fabrication.
Lighting: side light specified; avoid pure backlight positions.
Budget: driven by material, scale, relief depth, engineering and installation, so request a tailored quote rather than working from a headline figure.
Giant Sculptures builds metal wave wall art as bespoke commissions, sized to the wall rather than the shipping crate, and we work with designers on the full run from crest geometry through to mounting engineering. If you are still weighing materials, our metal wall art collection and the wider wall art range are a good place to compare how relief depth behaves across metal, bronze and stone.
For wider placement ideas on metal wave wall art, Metal Wall Art for a Staircase: How to Hang It so It Works from Every Step is useful companion reading before finalizing the setting and sightlines.