























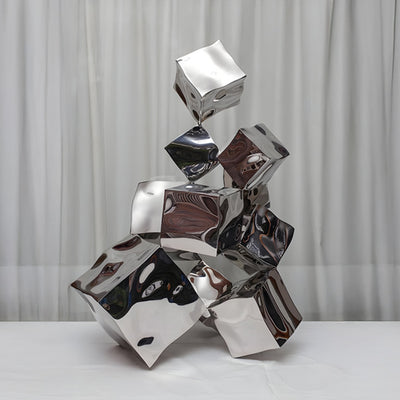


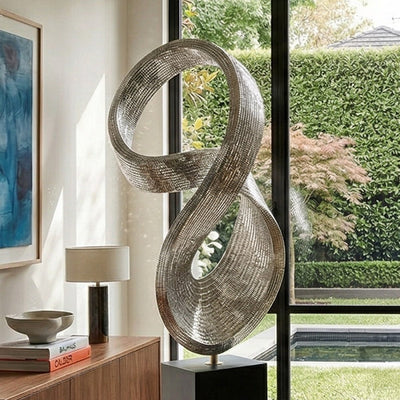

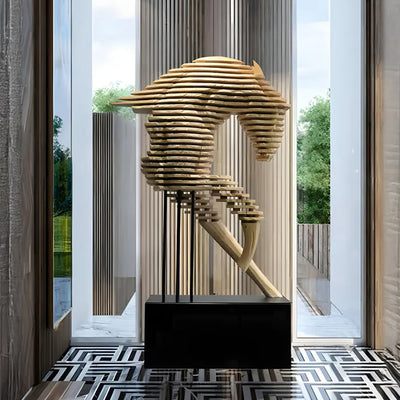
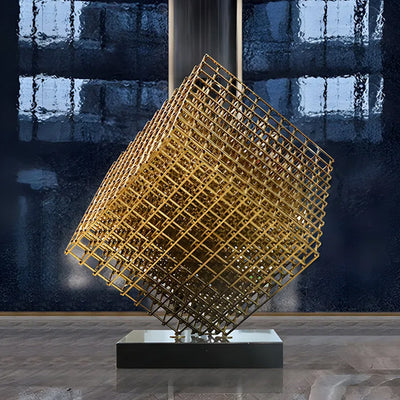









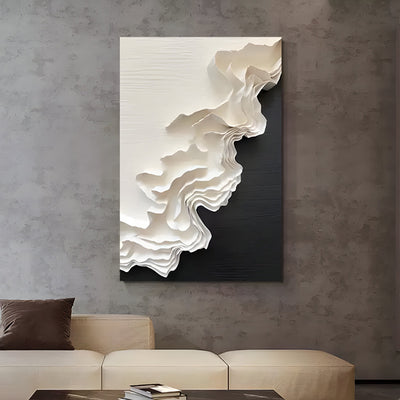
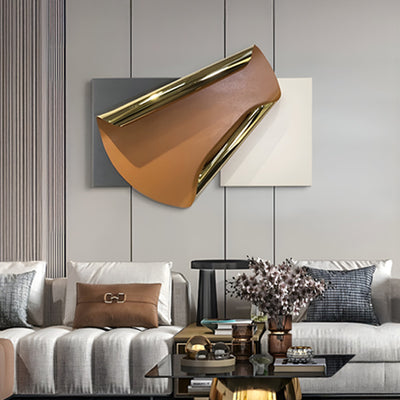
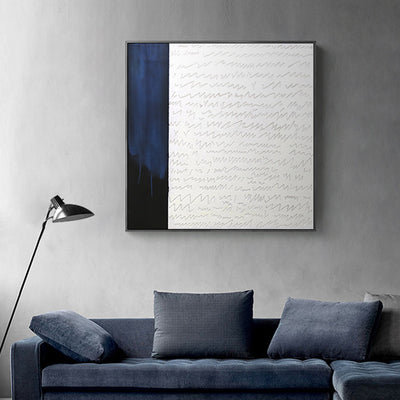
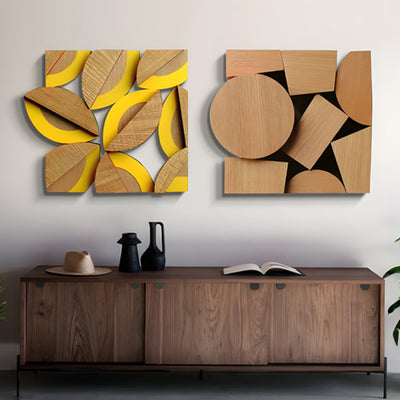

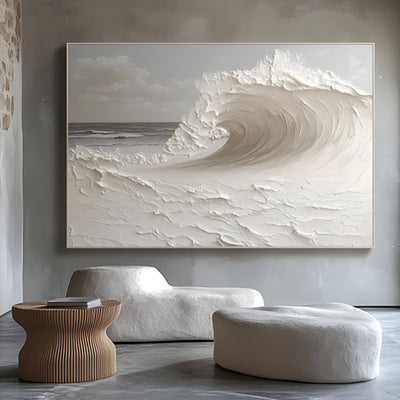
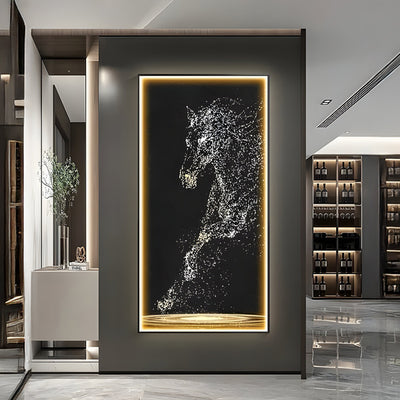
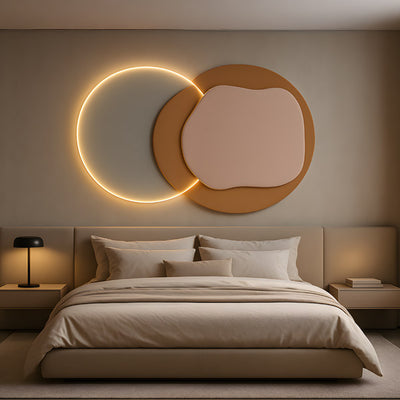
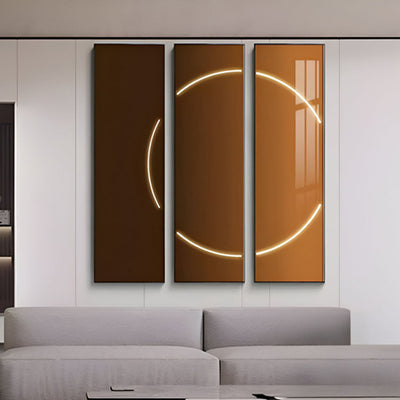
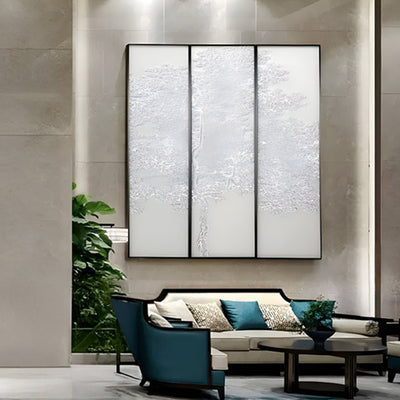
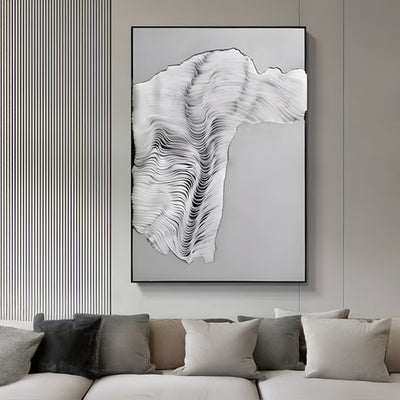
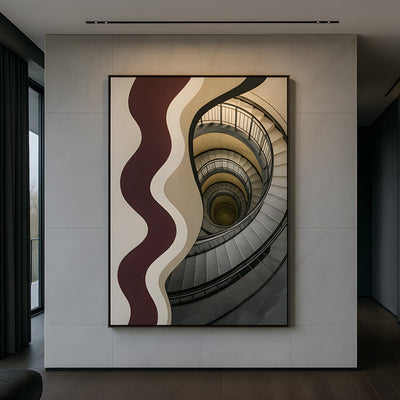
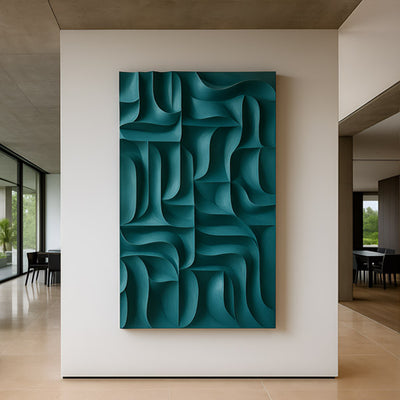
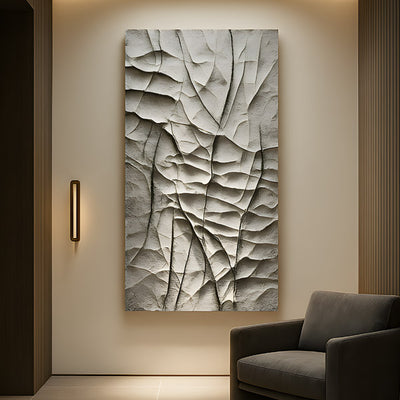
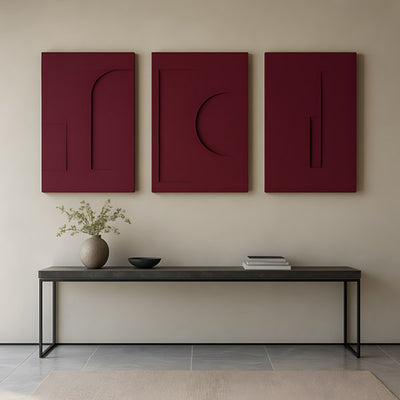
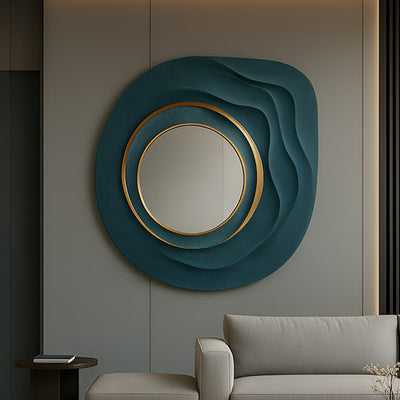
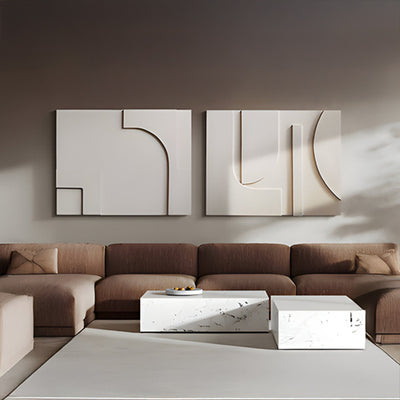
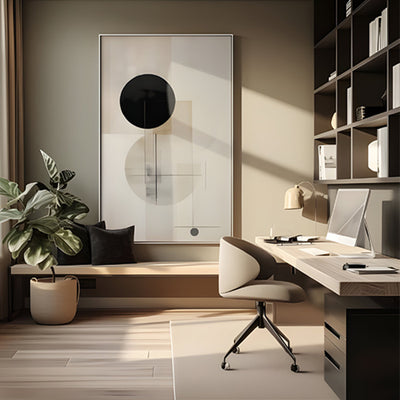











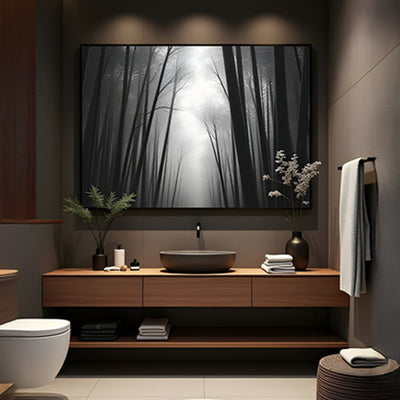


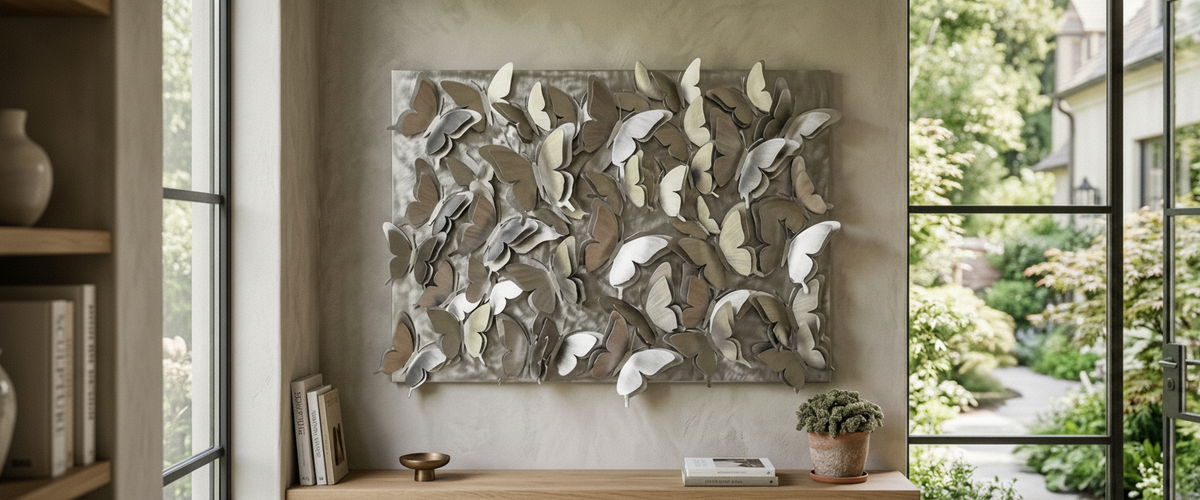

A relief panel can look superb in a showroom and go flat the moment it reaches a bedroom. The panel has not changed. The light has. Almost every disappointing 3D wall art bedroom installation traces back to a ceiling downlight sitting directly above the piece, washing the surface from the top and erasing the shadows that make the relief read as three-dimensional in the first place.
Fix the light angle and a modest panel gains real presence. Ignore it and even a deeply carved commission turns into expensive texture.

Key Takeaways
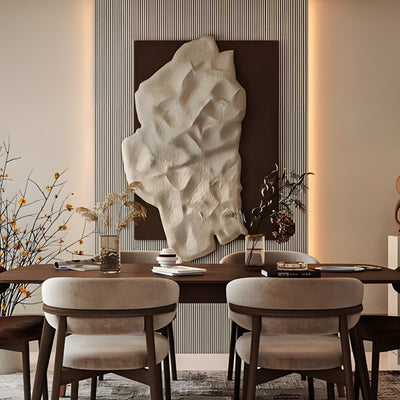
Relief depends on shadow. Light the panel from the side at a shallow angle, not from a downlight directly overhead.
Deeper relief, roughly 2 to 4 inches (50 to 100 mm), holds up in a dim bedroom. Shallow relief needs a dedicated light source.
Matte and brushed finishes behave well under warm bulbs. High gloss creates hot spots you will notice from the pillow.
The headboard wall and the facing wall are two different jobs with two different scale rules.
Deep panels cantilever weight forward. Plasterboard needs proper anchors or a timber batten fixed into studs.
Why a 3D Wall Art Bedroom Panel Needs Raking Light
Raking light means light striking a surface at a low, sweeping angle, close to parallel with the wall. Museums use it constantly when studying carved and modeled surfaces because it exaggerates every ridge and hollow; the Victoria and Albert Museum's sculpture collection is full of reliefs that only read properly when lit this way. Your bedroom wall works on exactly the same physics.
A recessed downlight set 8 to 12 inches (200 to 300 mm) off the wall throws light almost straight down the face of the panel. Shadows collapse to nothing. Move that same fixture further out, or swap it for an adjustable wall washer aimed to graze the surface, and the relief comes back. We have watched this play out more than once: a brushed stainless panel reads as dead under a run of downlights, an electrician re-aims a single adjustable fitting, and the same panel on the same wall becomes a different piece entirely.
Raking light from the side pulls every ridge and hollow out of the surface.
The Headboard Wall Versus the Wall You Stare at from the Pillow
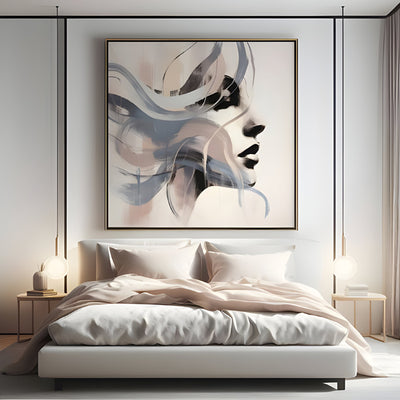
These walls do different work, and buyers routinely treat them as interchangeable. The headboard wall is seen when you walk into the room and when you are standing. It carries the composition of the whole space, so it can take a wide horizontal piece, a grouped arrangement, or a single strong form.
The wall opposite the bed is seen lying down, from a low angle, for long stretches of time. Anything busy there becomes wallpaper within a month. That wall rewards a quieter piece with real depth. Where separated forms stand clear of the backing plate, as on Lepora Drift Flight Butterfly 3D Wall Art, each element casts its own shadow instead of relying on dense surface pattern. Depth survives repeat viewing. Detail does not.

Choosing Panel Depth for a Low-Lit Bedroom
Retail spaces run bright. Bedrooms run warm and low, often lit by nothing more than a bedside bulb once the overheads go off. Most 3D wall art bedroom projects fail on depth long before they fail on design. Shallow relief of half an inch (12 mm) or less needs strong directional lighting to survive that drop, which means you are committing to an electrical change before the artwork arrives.
If rewiring is not on the table, buy depth instead. Choose 3D wall art for a bedroom with layered planes, projecting elements, or open negative space between components. Pieces that stand 2 inches (50 mm) or more off the wall generate shadow from ambient light alone; a layered petal build such as Blossomkin Bunny 3D Floral Wall Art works on that principle, with each petal edge doing the job a spotlight would otherwise have to do. Browse the 3D wall art collection with that in mind and you will notice which designs are carrying their own shadow and which are relying on the gallery photographer.
Layered, separated forms generate shadow from ambient lamplight alone.
Bedside Lamps, Wall Washers and the Shadow That Moves
Bedside lamps are the most underrated light source in this whole conversation. They sit low, close to the wall, and throw light upward at a genuinely raking angle. A panel mounted above and slightly outboard of a lamp will shift its shadow pattern as you sit up, lie back, or turn the lamp off in favor of overheads. That movement is the point, and repositioning one lamp is the cheapest 3D wall art bedroom upgrade available.
For a fixed, controlled effect, a small adjustable wall washer or a surface-mounted picture light on a dimmer gives you a repeatable result. The Illuminating Engineering Society publishes solid guidance on aiming angles for accent lighting if your electrician wants a technical reference. Warm dimming matters too: many LEDs shift color as they dim, which can turn a bronze finish muddy at low output.

Matte, Brushed and Gloss Under Warm Bulbs
Finish choice changes everything in a 3D wall art bedroom scheme lit at 2700K.
Matte: the most forgiving. Reads depth cleanly, hides fingerprints, never glares. Best on the wall you face from bed.
Brushed metal: catches directional light along the grain and gives a soft linear sheen. Excellent above a headboard where light comes from lamps on both sides. Worth exploring across our metal wall art range.
Gloss and mirror polish: spectacular in daylight, difficult at night. A single warm bulb reflected in a polished curve becomes a bright dot you cannot unsee at 11pm.
Scale Against the Headboard, and When to Break the Rule
The standard advice is to keep artwork to roughly two-thirds the width of the headboard. It works, and it is boring. Two situations justify breaking it.
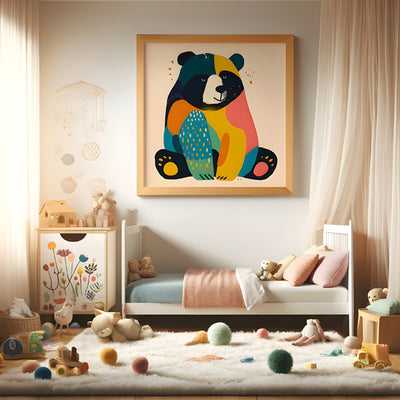
First, high-ceilinged rooms above about 11 feet (3.3 m). A two-thirds panel floats awkwardly in the empty upper wall; go wider and taller, or run a vertical composition. Second, children's rooms, where the bed is small and the wall is large. Here a cluster of smaller forms covers ground that a single scaled-to-headboard piece never will, and a repeatable motif such as Blossomkin Elephant 3D Floral Wall Art can be grouped at staggered heights rather than centered. More options sit in the bedroom art collection.
Fixings for Plasterboard When a Deep Panel Throws Its Weight Forward
Deep relief creates use, and this is where a 3D wall art bedroom install quietly goes wrong months after hanging day. A panel projecting 4 inches (100 mm) off the wall puts far more pull on its top fixings than a flat frame of the same weight, and plasterboard anchors fail slowly, tilting over months rather than dropping in one go.
Fixing Checklist
Find the studs. Two fixings into timber beat six into board.
If studs do not line up, mount a painted timber batten across them and hang from that.
For board-only fixing, use toggle or metal expansion anchors rated well above the piece's weight, not plastic plugs.
Check the ceiling clearance before drilling. Deep panels need room above for the hanging hardware.
Mount the center around 6 to 10 inches (150 to 250 mm) above the headboard, then step back and check from the doorway.

Commissioning a Bespoke Relief Panel
Off-the-shelf works until your wall is an odd width, your ceiling is unusually high, or you want the finish tuned to existing metalwork in the room. Giant Sculptures builds bespoke relief and sculptural wall pieces in bronze, brushed and polished stainless steel, and engineered composite panels, sized to the wall rather than to a catalog. For a bespoke 3D wall art bedroom panel, send the wall dimensions, a photograph taken at night with the lamps you actually use, and a note on where the light sits. That night photograph tells us more about the right depth and finish than any mood board.
Budget depends on material, scale, relief depth, engineering and finishing, so we quote each commission individually. If you are still comparing directions, the wider wall art and wall decor range is a useful place to work out what depth you actually respond to before committing.
For wider placement ideas, Wood Wall Art for the Bedroom: How to Choose a Piece That Holds the Room is useful companion reading before finalising the setting and sightlines.