


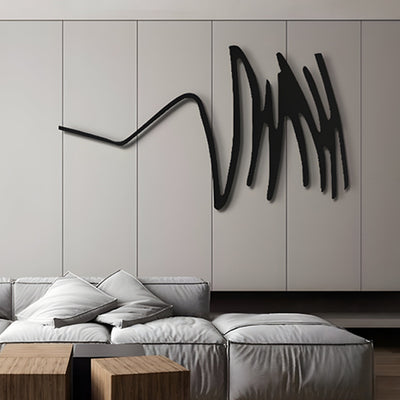


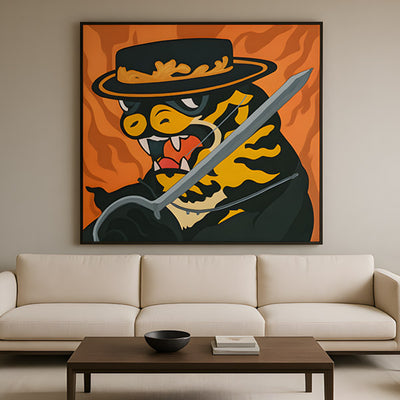


What was once a humble shipping box is now finding its place on gallery walls and design-forward homes. Cardboard art has become one of the most creative and eco-friendly movements in modern décor - a perfect blend of sustainability, imagination, and texture.
This article explores exactly how cardboard wall art is made, revealing the transformation from scrap packaging to striking statement piece. From selecting materials and shaping textures to finishing and hanging, here’s how artists and makers are redefining what wall art can be.
Why Cardboard? The Rise of Cardboard Wall Art and Its Appeal
The growing interest in eco-friendly wall art has changed how we view materials once destined for the bin. Cardboard, with its versatility and natural texture, has quickly become a favourite among both artists and interior designers.
Its biggest appeal lies in three things:
Sustainability – Cardboard is recyclable, biodegradable, and abundant. Turning it into upcycled wall art keeps waste out of landfill.
Accessibility – It’s inexpensive and easy to work with, allowing anyone from emerging artists to home decorators to experiment.
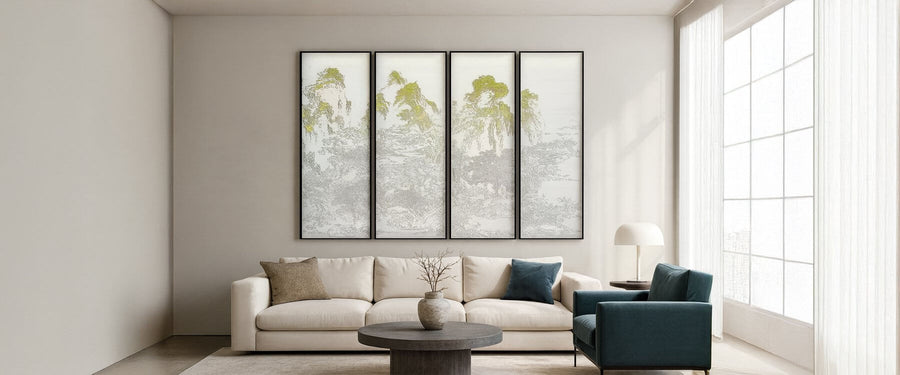
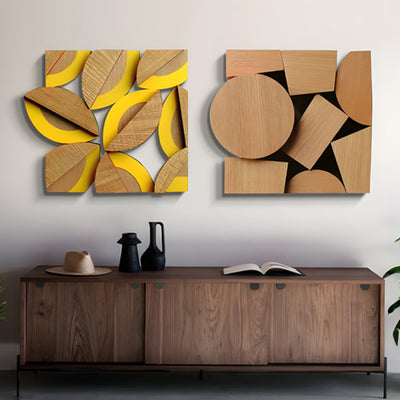
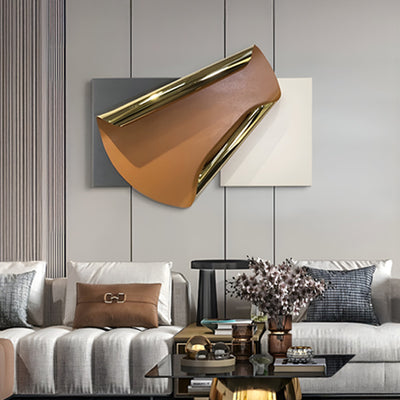
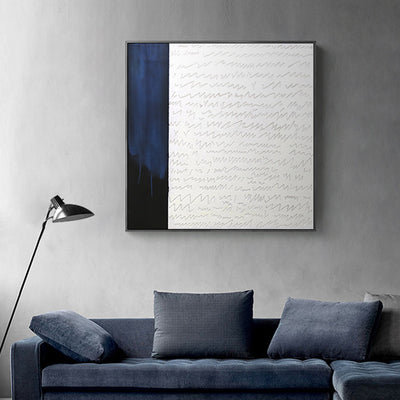
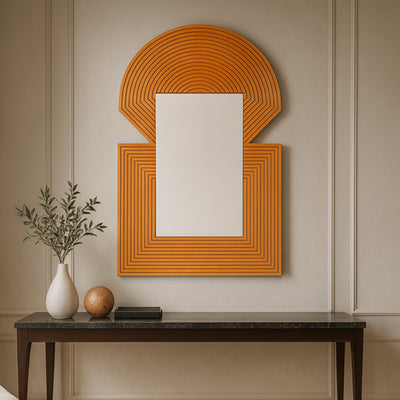
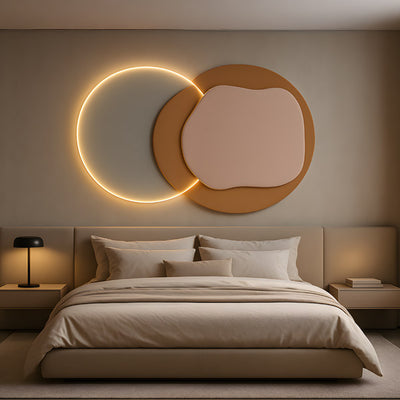
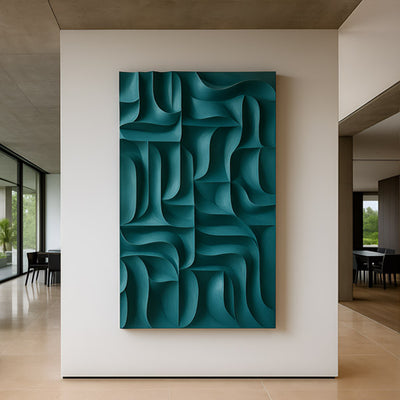
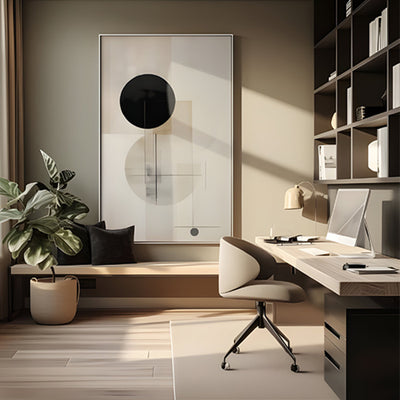
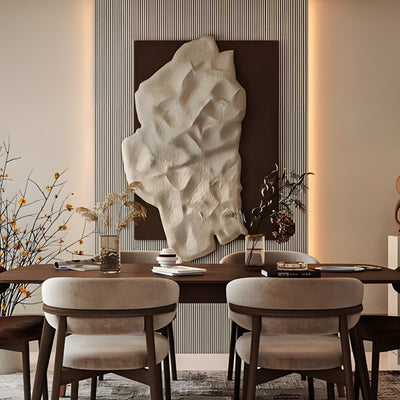
Aesthetic versatility – The layered corrugations, earthy tones, and matte surface make cardboard ideal for both minimalist and mixed-media art styles. Each piece can be scaled, coloured, or textured to suit your interior, perfect for modern lofts, industrial apartments, or minimalist homes.
Contemporary artists are pushing these possibilities even further, turning ordinary boxes into textured panels, sculptural forms, and cardboard wall paintings that rival traditional canvas art in emotional depth.
As sustainable interiors grow in popularity, so too does the value of materials that embody conscious design. Cardboard art stands at the crossroads of creativity and responsibility, and its evolution is just beginning.

Materials & Preparation: Selecting and Prepping Cardboard for Wall Art
Before any paintbrush touches the surface, the foundation matters. Preparing cardboard properly is what turns fragile packaging into a long-lasting cardboard wall art base.
1. Choosing the Right Type of Cardboard
Not all cardboard is created equal.
Corrugated cardboard (the type used in boxes) offers strength and texture, perfect for layered or structural designs.
Single-ply or cereal box cardboard gives a smoother finish for painted work.
Double-wall cardboard is heavier and great for large-format or wall art panels.
Check for warping, stains, or printed logos, these can interfere with adhesion and colour later.
2. Cutting and Flattening
Use a sharp craft knife or box cutter and flatten the surface completely. Remove any tape or glue residue to prevent uneven textures. If you’re building layered cardboard 3d art, cut multiple pieces in different shapes and sizes to create depth.
3. Priming the Surface
Cardboard absorbs moisture easily, so sealing it is essential. Apply gesso, acrylic primer, or a diluted PVA mix to prevent warping. For smoother paint application, lightly sand the primed surface once dry.
Tip: If you want to preserve the raw, natural look of the cardboard, apply a clear matte sealant instead of opaque primer, it keeps the natural brown tone visible.
4. Planning the Composition
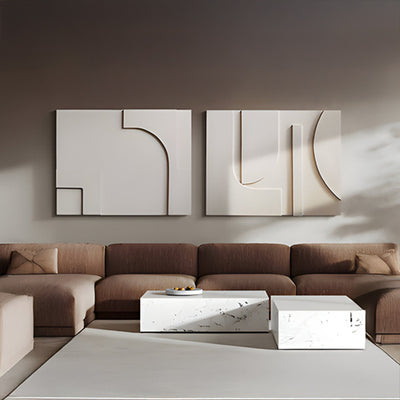
Sketch your design directly on the primed surface or assemble layers using mock-ups. Artists often use a mix of flat and raised elements, turning simple geometric shapes into dynamic cardboard art wall décor.

Creating the Artwork: Techniques for Cardboard Wall Paintings
This is where the magic happens, where cardboard stops being packaging and starts becoming art. Artists use several cardboard art techniques to bring texture, movement, and life to their work.
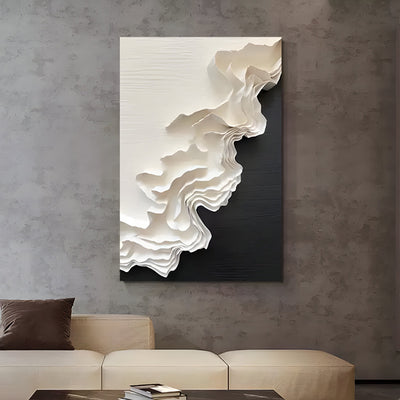
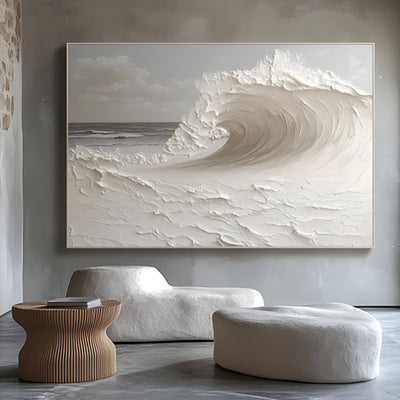
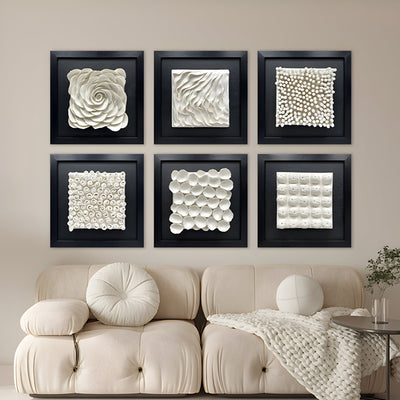
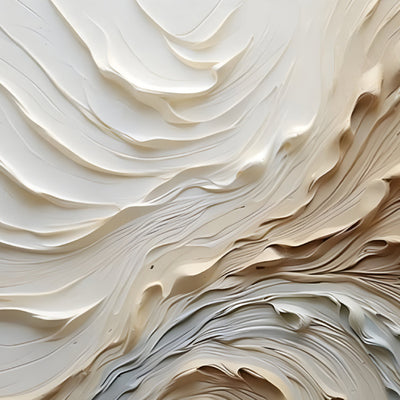
1. Layering for Texture
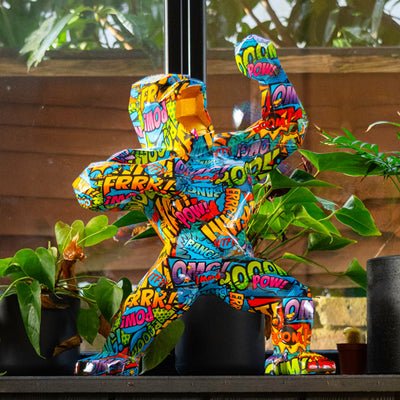
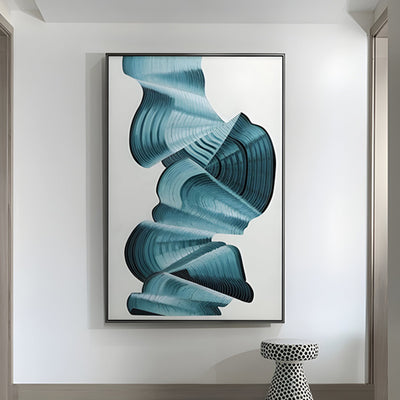
Cut and glue multiple layers of cardboard to form reliefs or sculptural effects. Exposing the corrugated edges adds tactile contrast, a signature feature in many recycled cardboard paintings.
For a more refined finish, artists may fill the grooves with paste or gesso, creating a semi-smooth surface that balances between rough and polished.
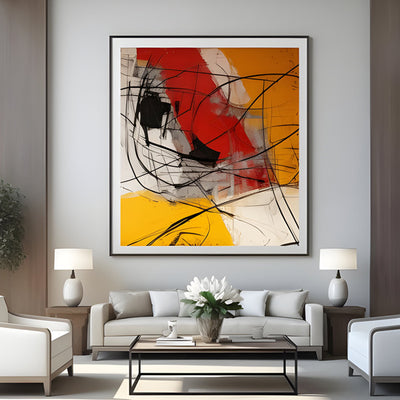
2. Painting and Colouring
Once layered, apply acrylics, gouache, or natural pigments. Because cardboard absorbs moisture, work in thin layers and let each dry before continuing.
Popular combinations include:
Monochrome black and white for modern minimalism.
Muted earth tones for organic, rustic interiors.
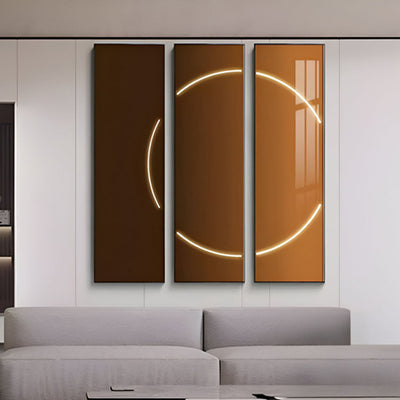
Metallic paints or foils for a luxe, industrial look.
Some artists also blend other mediums, like sand, plaster, or fabric, for mixed-media effects. The result? Wall art that feels dimensional and alive.
3. Detailing and Finishing
You can enhance highlights and shadows with dry-brushing, stencil prints, or subtle ink work. For modern, geometric designs, many creators use cut-out techniques to add precision and depth.
When finished, apply a clear acrylic varnish or sealant. It not only enhances colour saturation but also protects against humidity, fingerprints, and UV exposure.

Finishing & Display: Mounting, Framing and Hanging Cardboard Wall Art
After the artwork is complete, presentation becomes key, it’s what turns a DIY project into something gallery-ready.
1. Mounting and Framing
Lightweight cardboard wall paintings can be mounted directly onto backing boards or foam core using archival glue. For professional display, consider a thin shadow-box frame, it gives the artwork breathing room while protecting edges from wear.
If your piece features heavy layering or raised sections, leave a 2–3 cm gap between the surface and frame glass to prevent contact.
2. Hanging and Placement
Since cardboard is light, it’s easy to hang with wall-safe adhesive strips, wire hooks, or velcro mounts. Always ensure the wall surface is dry and smooth to prevent slipping.
Keep art away from damp corners or direct sunlight, cardboard can warp or fade if exposed to moisture or UV rays.
3. Lighting Matters
Soft ambient lighting enhances texture, while a directional spotlight can create dramatic shadows that emphasise depth. Just avoid placing the artwork where heat or humidity fluctuate (like near radiators or kitchens).
Tip: Layered cardboard absorbs light beautifully, angled lighting highlights every cut and contour, giving it a sculptural quality.
Quality & Longevity: How to Ensure Your Cardboard Wall Art Lasts
A frequent misconception is that cardboard is too fragile for long-term wall display. In reality, with proper sealing and care, cardboard art can last for years.
Here’s how to preserve it:
Seal the surface: Always apply varnish or resin-based coating after finishing. It prevents moisture absorption.
Use backing boards: Reinforce large pieces with plywood or MDF to maintain structure.
Protect from humidity: Keep away from damp walls and unventilated spaces.
Avoid direct sunlight: Prolonged UV exposure fades paint and yellows unsealed cardboard.
Dust lightly: Use a soft brush or dry microfibre cloth to clean without abrasion.
Artists creating eco-friendly wall art often use non-toxic sealants and recycled glues, ensuring both durability and sustainability.
When handled right, a piece of cardboard can hold its own next to canvas and metal, proof that material value lies in design, not price.

The Artistic Perspective: Cardboard as a Medium of Expression
Beyond technique, there’s a deeper narrative in cardboard art. It speaks of renewal, transformation, and the beauty in imperfection. The ridges and folds tell their own story, every dent becomes texture, every flaw becomes form.
Modern makers are using cardboard to comment on consumerism, waste, and urban life. What used to be packaging now re-enters the world as art, recycled cardboard paintings that make a statement about how we consume and create.
From minimal abstract pieces to bold 3D wall sculptures, the aesthetic is contemporary yet grounded, bringing tactile warmth to modern interiors.
If you’d like to explore design inspiration, see how artists are turning simple materials into striking décor in 10 incredible ways to create stunning cardboard art.
Checklist: Turning Boxes into Wall-Ready Art
Choose clean, undamaged cardboard.
Cut, flatten, and prime the surface.
Layer for depth and seal each level.
Use paints suitable for porous surfaces.
Apply varnish to protect against wear.
Mount with archival glue or frame securely.
Hang in a dry, stable environment with soft lighting.
This process transforms what once wrapped your deliveries into a conversation-starting cardboard wall painting.

Conclusion – The Journey from Waste to Wall Hero
Cardboard’s journey from shipping waste to statement artwork mirrors the evolution of modern creativity itself. It celebrates craftsmanship, sustainability, and the ability to see beauty where others see rubbish. Whether you’re an artist experimenting with cardboard art or a homeowner looking for sustainable décor, the process of turning boxes into art teaches one thing: transformation is the heart of creation.
Start small: a textured wall panel, a geometric cut-out, or a minimalist cardboard painting. Once you see how the material behaves, you’ll quickly discover endless design potential.
Explore sustainable, hand-crafted cardboard wall art panels and more innovative modern pieces at Giant Sculptures, where recycled artistry meets interior sophistication.