


Porcelain art is often admired for its elegance, smooth finish and delicate appearance. For beginners, it may seem complex or fragile, yet it is one of the most rewarding creative disciplines you can learn. With patience, proper tools and a clear understanding of the process, it becomes approachable and deeply satisfying.
This guide explains everything you need to start today. You will learn what makes porcelain different, which materials matter most, how the firing process works and how to build skill gradually. If you are beginning your journey, this educational overview will give you a strong and confident foundation.

What Is Porcelain Art?
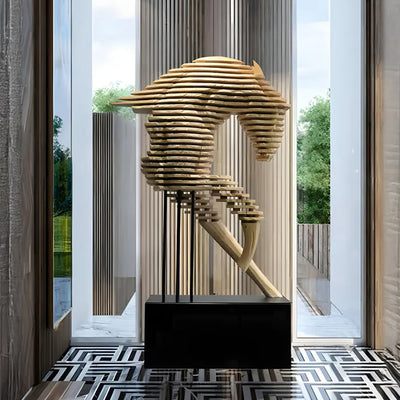
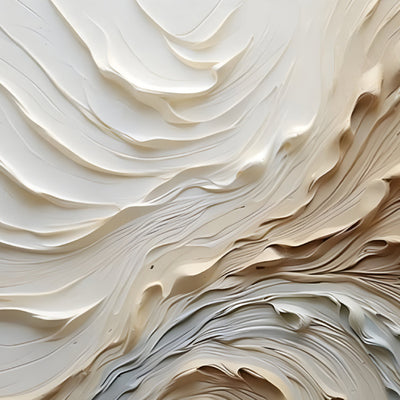
Porcelain art refers to decorative or sculptural work created using porcelain, a refined ceramic material made primarily from kaolin clay. Unlike earthenware or stoneware, porcelain is fired at extremely high temperatures, usually above 1,200°C. This produces a dense, white and slightly translucent surface that feels both delicate and strong.
The refined nature of porcelain allows for fine detailing. Artists use it for hand-painted plates, ornamental figurines, contemporary sculpture and decorative objects designed for display. The smooth surface responds beautifully to careful brushwork and controlled glazing.
For beginners, the most important thing to understand is that porcelain behaves differently from other clays. It dries more quickly, feels smoother in the hand and requires gentle handling. Respecting these qualities makes learning the craft far easier.
Tools and Materials You Need to Begin
Porcelain art does not require an elaborate studio to begin, but quality materials make a noticeable difference. Choosing proper tools from the beginning helps you avoid unnecessary setbacks and build confidence more quickly.
Here are the essentials:
Porcelain clay or ready-made blank porcelain plates
Fine ceramic brushes designed for detailed painting
Porcelain paints or underglaze pigments
A small mixing palette
Soft sponges for smoothing surfaces
Access to a kiln or local ceramics workshop
If you feel unsure about shaping clay, begin with hand-painted designs on pre-fired porcelain surfaces. This allows you to concentrate on decoration and technique without managing complex forming processes.
Community studios are particularly useful in the early stages. They provide kiln access and guidance on safe firing practices, which are crucial when working with porcelain.

Understanding the Porcelain Art Process
Every piece of Porcelain Art follows a structured sequence. Knowing the stages builds confidence and reduces mistakes.
Preparing the Surface
If working with clay, wedge it thoroughly to remove trapped air. Even small air pockets can expand during firing and cause cracks. If decorating a pre-fired piece, ensure the surface is clean and free from dust or grease.
Designing or Shaping
Sculptural Porcelain Art can be formed through hand-building, mould casting or wheel throwing. Beginners often start with small bowls, tiles or simple sculpted forms.
For decorative pieces, lightly sketch your design in pencil. Simple floral motifs, botanical patterns and balanced line work are ideal for developing control.
Firing the Porcelain
Firing transforms soft clay into hardened porcelain. The first firing, called bisque firing, stabilises the piece. After glazing or painting, a second high-temperature firing completes the work.
Porcelain Art is sensitive to temperature changes. Controlled firing ensures strength, durability and clarity of colour.
Glazing and Finishing
Glaze protects the surface and enhances visual depth. Transparent glaze preserves fine brush detail, while tinted glaze adds subtle character. Apply thin, even layers to prevent bubbling or uneven textures.
Each stage requires patience. Allow proper drying time before moving forward. In Porcelain Art, careful progression produces the best results.
Decorative Techniques to Explore
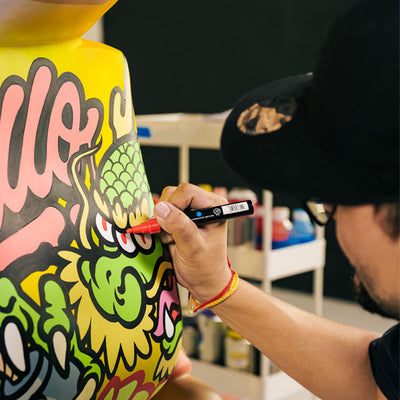
Porcelain art becomes truly expressive at the stage of surface decoration. For beginners, it is important to practise one technique at a time so you can clearly understand how pigments react to heat and glaze during firing.
Common approaches include:
Underglaze painting before final glazing
Overglaze enamel decoration after initial firing
Fine line brushwork for delicate detailing
Minimalist patterns with controlled negative space
Underglaze painting is often recommended for beginners because it allows adjustments before final glazing. Thin layers produce cleaner results once fired.
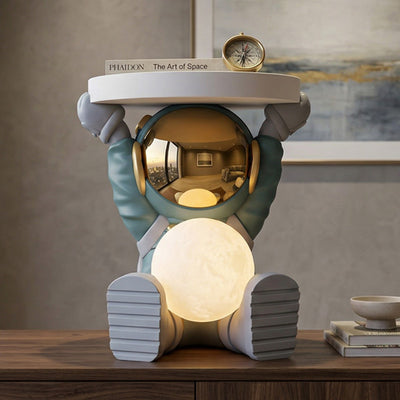
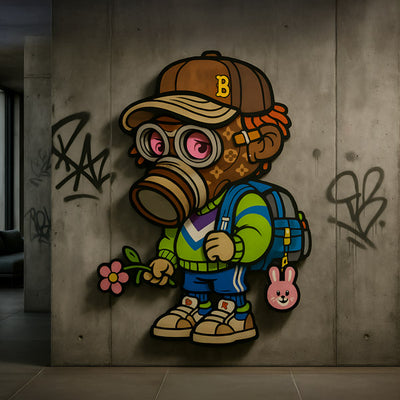
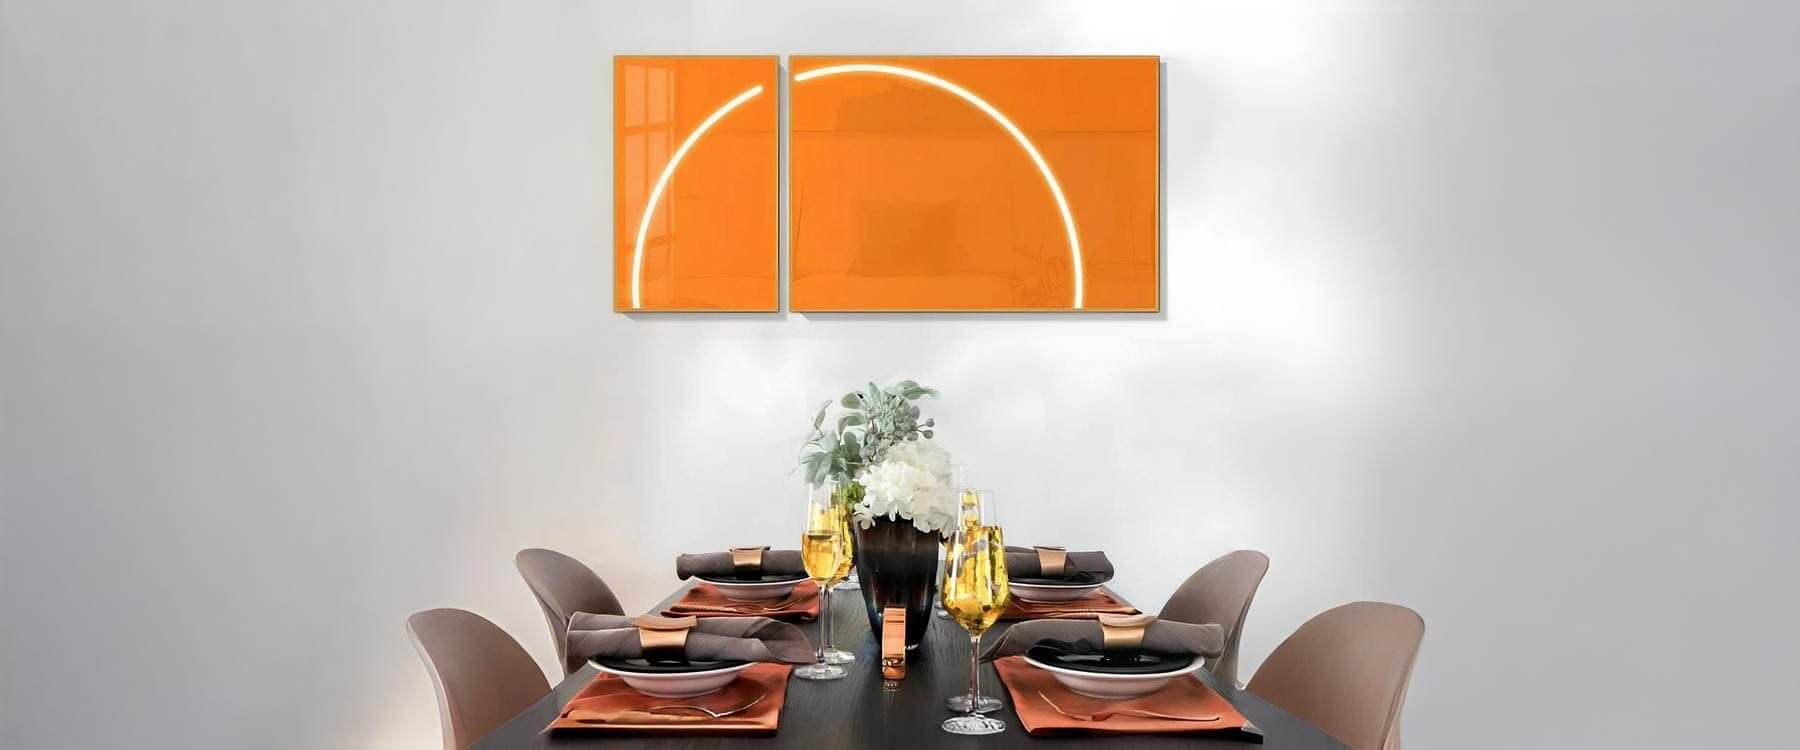
If you enjoy exploring various art styles, you may notice that modern visual arts influence surface composition in many mediums. For example, some artists who experiment with bold colour contrast also work in LED & neon art, where balance and visual impact are central. Observing these principles can inspire thoughtful colour placement in porcelain work while still respecting its traditional character.

Mistakes Beginners Should Avoid
Porcelain art can feel challenging at first, and every learner encounters obstacles along the way. Recognising common mistakes early will improve your progress and help you develop stronger technique from the beginning.
Overworking the clay is one issue. Porcelain becomes fragile as it dries, and excessive handling weakens the structure, increasing the risk of cracking.
Applying paint too thickly is another common problem. Heavy layers may distort or bubble during firing. Thin, controlled brush strokes produce cleaner and more consistent results.
Rushing drying times often leads to cracks or glaze flaws. This craft requires steady, patient movement through each stage to achieve a refined finish.
Finally, skipping test pieces limits learning. Small sample tiles allow you to observe glaze reactions and colour shifts before applying them to a finished design.
Growing Your Skill and Creative Confidence
Porcelain art improves gradually with steady practice and observation. Keep notes on glaze combinations, firing temperatures and brush techniques, as this record will help you refine consistency and better understand how the material responds over time.
Studying historical porcelain styles also strengthens your understanding. Traditional blue-and-white porcelain demonstrates disciplined brush control, while European figurines showcase refined sculptural detail and balance.
As you experiment, you may also feel drawn to materials that explore fluid texture and layered colour. Artists who enjoy this style sometimes work in resin art, where colour blending behaves differently yet still encourages thoughtful compositional planning. Observing how other materials respond can broaden your artistic awareness while keeping your focus firmly rooted in porcelain craftsmanship.

A Simple First Project
Your first Porcelain Art project should be structured and manageable. A small decorative plate works well.
Choose two or three complementary colours. Sketch a botanical or geometric design. Apply underglaze in thin layers, allowing each coat to dry before adding further detail. Finish with a clear glaze and fire under controlled conditions.
This project introduces you to surface preparation, colour layering and glazing without unnecessary complexity. Completing a carefully finished piece builds both confidence and understanding.
Developing a Personal Style
As your skills improve, your creative direction will become clearer. Some beginners prefer delicate floral compositions. Others lean towards abstract shapes or minimalist line work.
Experiment with:
Balanced negative space
Subtle tonal gradients
Fine detailing
Textured surfaces beneath smooth glaze
Porcelain Art allows both traditional elegance and modern simplicity. Your style will emerge naturally through practice and reflection.
Consistency is more important than speed. Even completing one small piece each month strengthens your technique.

Conclusion: Building a Strong Foundation in Porcelain Art
Porcelain art combines technical discipline with creative expression. For beginners, success depends on understanding the material, using proper tools and respecting the firing process. By starting with simple projects, practising controlled decoration and allowing adequate drying time, you establish a reliable foundation.
Over time, the process becomes less intimidating and more intuitive. Each piece teaches patience, precision and design awareness. Continue experimenting with surface treatments, refine your styling choices and explore the collection of porcelain pieces that reflect your developing aesthetic.