


Table of Contents
- Resin Sculptures Explained: What They Are and How They Work
- Why Resin Sculptures Are Such a Smart Choice
- Which Resin Is Best for Sculptures?
- Making Resin Sculptures: Beginner Step-by-Step
- Finishing Resin Sculptures for a Clean, Professional Look
- Protecting Resin Sculptures Outdoors: Preventing UV and Weather Damage
- Resin Safety Essentials for Sculpting and Casting
- Styling Resin Sculptures in Modern Homes
- Keeping Resin Sculptures Clear and Glossy Over Time
- Conclusion: Bringing Resin Sculptures Into Your World
- FAQs
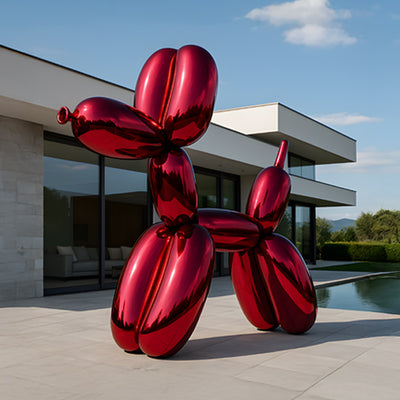
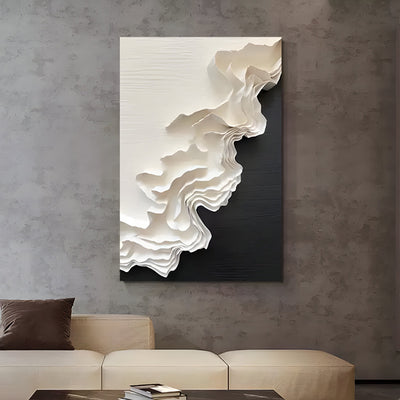
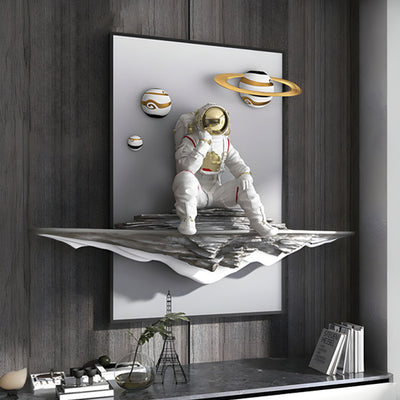
Resin sculptures have gone from “craft fair curiosity” to a genuine design favourite. You’ll spot them in minimalist flats, boutique hotels, and art-forward homes because they’re light, modern, and surprisingly versatile. One piece might look like polished glass, another like aged bronze, and a third like pale carved stone yet all of them can be made from the same core material: resin.
If you’re curious about collecting, styling, or even making pieces like these yourself, you’ll get loads out of this guide. It breaks down what resin sculptures are, which resin works best, beginner-friendly casting steps, and the finishing tricks that make results look truly gallery-grade.
Resin Sculptures Explained: What They Are and How They Work
A resin sculpture is any sculptural form created using casting resin. Most often, resin is mixed with a hardener, poured into a mould, then left to cure into a solid object. Once hardened, the piece can be sanded, polished, painted, or sealed, depending on the look you want.
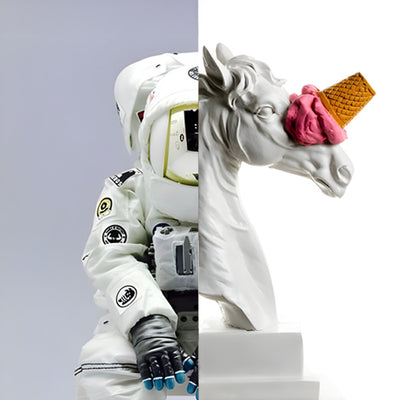
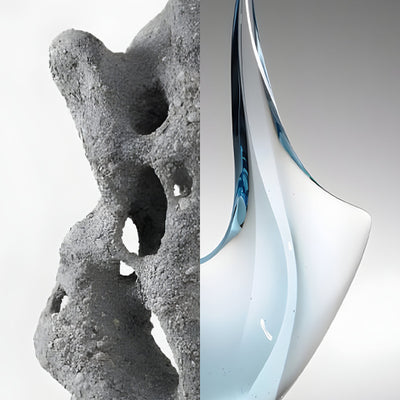
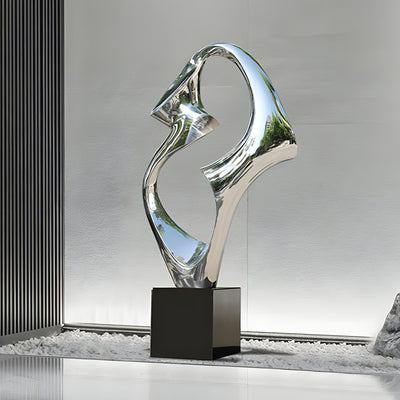
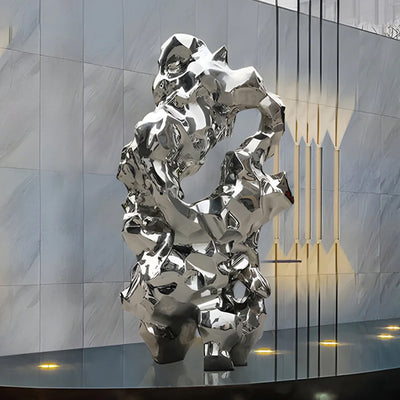
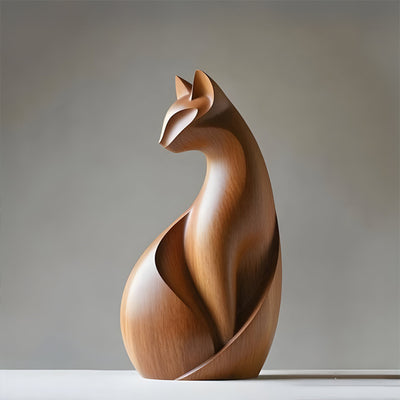
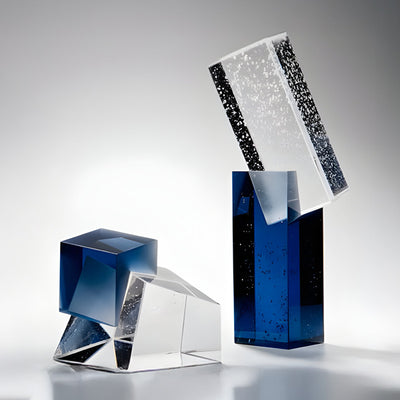
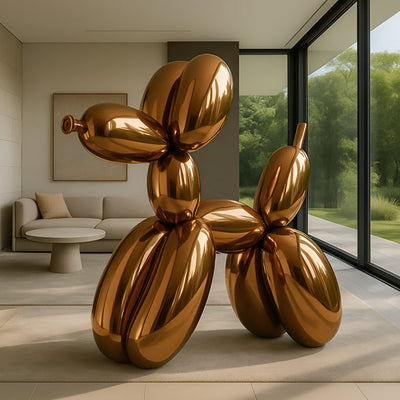
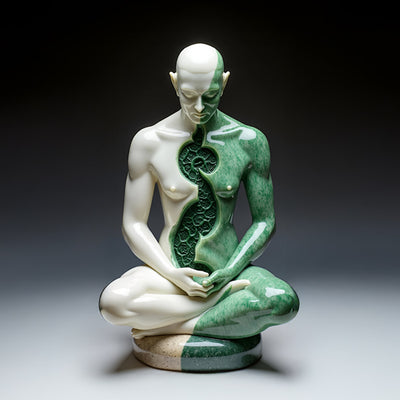
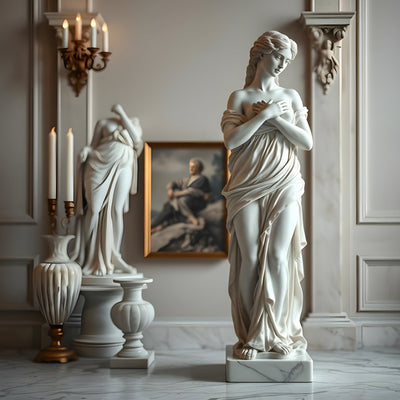
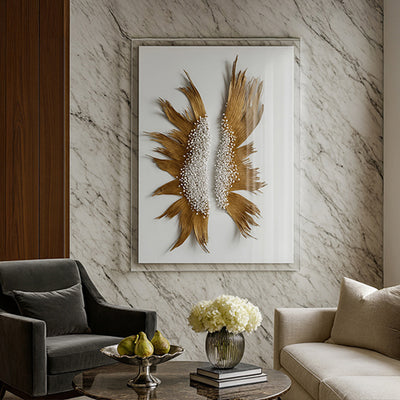
What really sets resin apart is the finish. Clear epoxy can create a deep, watery translucency; tinted resin can look like ceramic; and resin blended with powders can mimic metal or stone. It also captures sharp details beautifully, which is why it’s so popular for figurines, abstract forms, and decorative objects.

Why Resin Sculptures Are Such a Smart Choice
Compared to traditional sculpture materials, resin gives you a brilliant balance of practicality and visual impact.
They’re lightweight
A large stone or bronze sculpture can be a real pain to move around. Resin pieces are much lighter, so you can go bigger and bolder without needing heavy-duty shelving.
They’re more affordable
Whether you’re buying or making, resin usually costs less than bronze casting or stone carving, and you don’t need specialist equipment beyond the basic supplies.
They’re easy to personalise
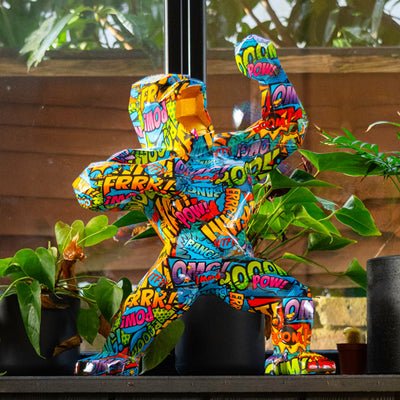
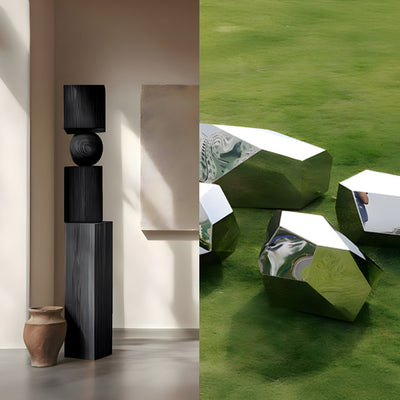
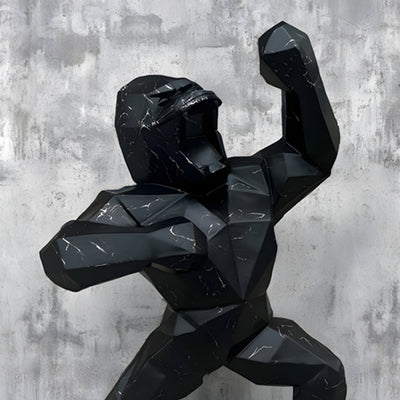
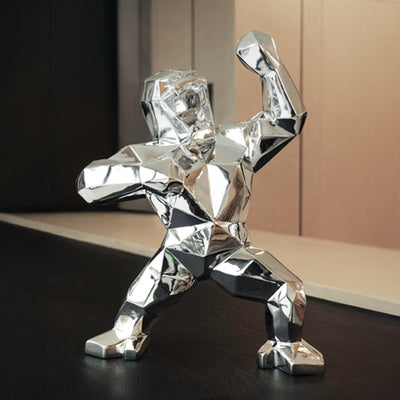
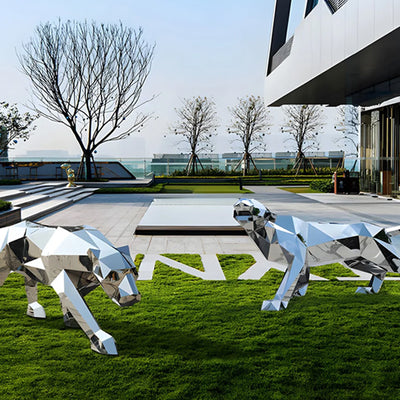
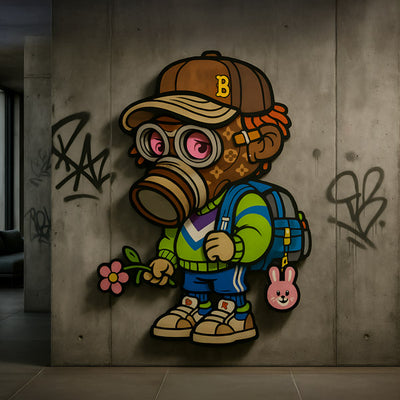
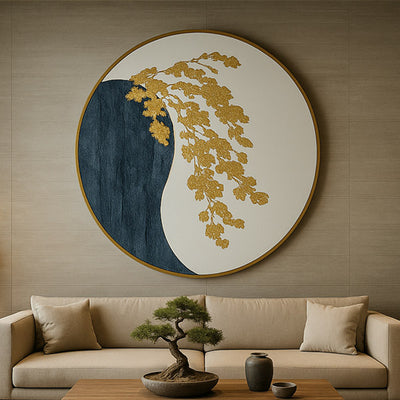
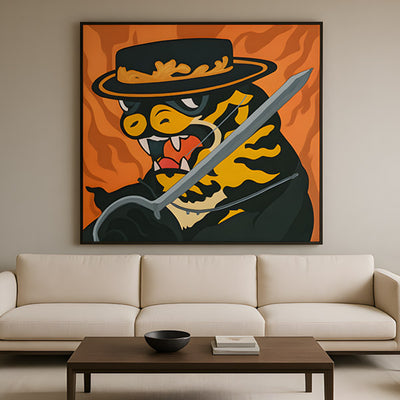
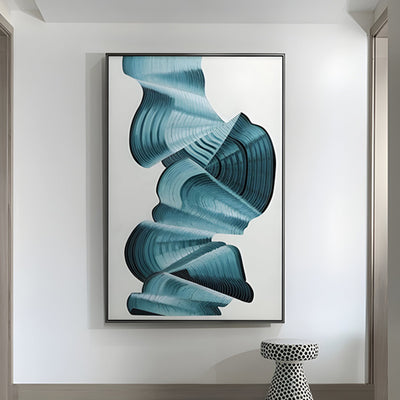
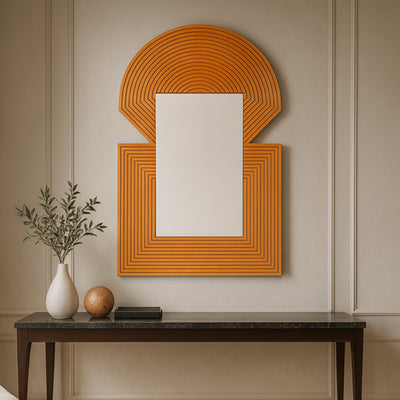
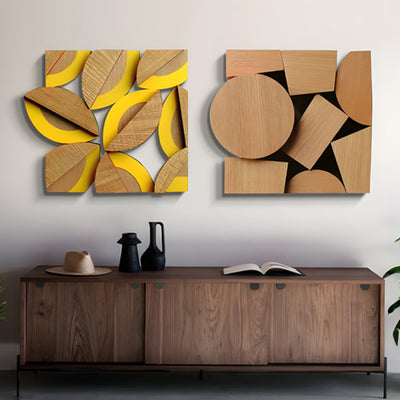
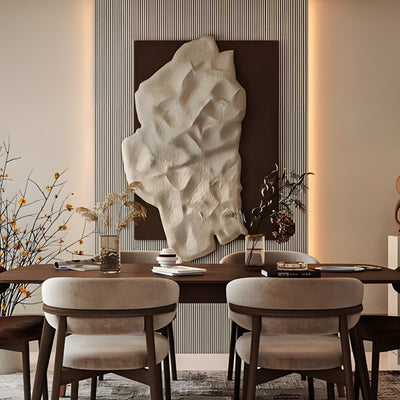
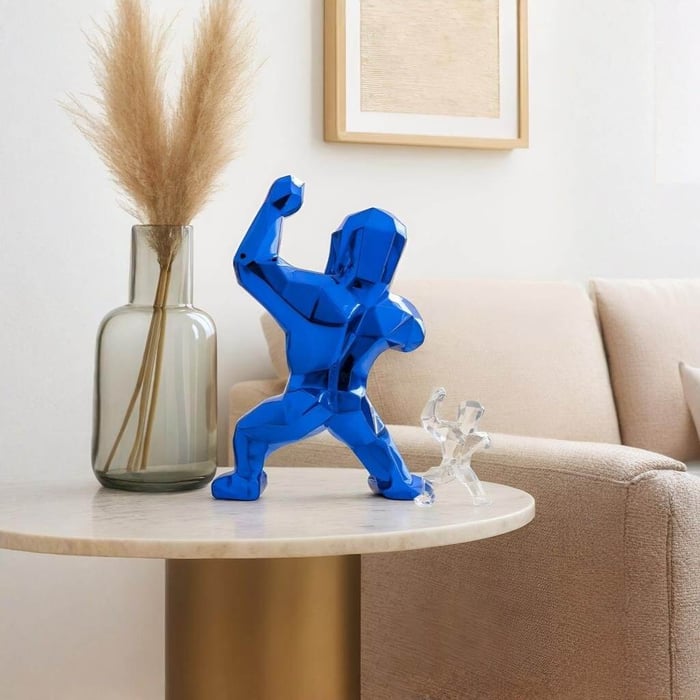
Resin artwork can be glossy, satin, matte, translucent, marble-effect, metallic, or stone-look. You can tint the material itself or paint on top, which is why it works so well for contemporary styles like geometric sculptures, where crisp lines and smooth surfaces matter.
All that means these pieces slot into modern décor without fuss, and they give artists loads of room to push creative boundaries.
Which Resin Is Best for Sculptures?
Before you start mixing, it’s worth knowing what each resin type is best at. The right choice depends on the finish you want and how you plan to use the sculpture.
Epoxy resin sculptures
Epoxy is the go-to choice for most resin work, especially for beginners. It cures clear, is strong once hardened, and polishes up beautifully. If you want high detail or that glassy, see-through effect, epoxy is your safest bet.
Polyurethane resin sculptures
Polyurethane resin cures faster and is brilliant for mould casting, particularly if you want to make multiple copies of a sculpture. The surface is often ideal for painting too. It may not be as crystal-clear as epoxy, but it’s reliable and tough.
Other resins for large forms
For very large or fibreglass-backed pieces (especially outdoor work), polyester or vinyl ester resins are sometimes used. They cure quickly and handle scale well, but they’re less beginner-friendly.

Making Resin Sculptures: Beginner Step-by-Step
Let’s walk through it. It’s straightforward, and a calm, methodical approach is what makes everything go smoothly.
Step 1: Gather tools and materials
You’ll need:
Casting resin (epoxy if you’re new) and hardener
Silicone moulds or a custom mould
Digital scales or measuring cups
Mixing cups and wooden stirrers
Resin pigments/dyes (optional)
Heat gun or small torch for bubbles
Gloves, respirator, eye protection
A level curing surface and a dust cover
Step 2: Choose or make your mould
Silicone moulds are easiest because cured resin releases cleanly. You can buy moulds for shapes, busts, and figurines, or make your own by creating a clay master and pouring silicone over it.
Tip: moulds must be dry and fully cured; moisture causes cloudy patches.
Step 3: Mix resin properly
This is the bit where accuracy really counts.
Measure resin and hardener exactly as the brand instructs.
Stir slowly and thoroughly, scraping the sides and bottom.
Avoid whipping air in, that’s where bubbles creep in.
If you’re adding colour, do it after the first mix. Stir gently again.
Step 4: Pour and remove bubbles
Pour resin in a slow, thin stream. That helps trapped air rise naturally. Give the mould a gentle tap to coax bubbles upwards, then pass a heat gun or torch quickly over the surface to pop lingering bubbles.
Step 5: Cure and demould
Leave the piece on a level surface, ideally covered to protect it from dust. Most resins need a full 24-48 hours. When cured, flex the mould gently and lift out the sculpture. Trim any thin overflow with a craft blade.
If the sculpture feels tacky, it likely needs more curing time, or the mix ratio was off.

Finishing Resin Sculptures for a Clean, Professional Look
A freshly demoulded piece is just the starting point, not the final result. The finishing stage is what gives resin sculptures their polished, exhibition-worthy finish.
Sanding
Start with around 400 grit to remove seams or bumps. Work up gradually through finer grits (800, 1200, 2000). Wet sanding at the higher grits reduces dust and gives a smoother finish.
Polishing
Once sanded, apply a resin or plastic polishing compound. Hand-buff small pieces, or use a rotary tool for larger sculptures. This is how you get that crystal-clear, mirror finish.
Sealing / top coat
If you want a high-gloss finish, add a thin top layer of resin. For pieces exposed to sunlight (especially outdoor work), apply a UV-resistant clear coat to help protect colour, clarity, and surface sheen.

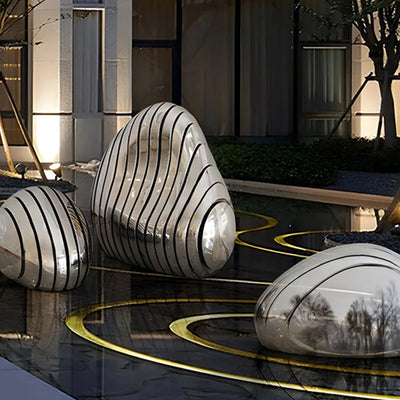
Protecting Resin Sculptures Outdoors: Preventing UV and Weather Damage
Resin can live outdoors, but it needs help. UV light is the real culprit, causing yellowing and surface dulling over time.
To protect outdoor resin sculptures:
Choose UV-stable resin or a UV-resistant topcoat.
Place sculptures where they avoid harsh midday sun.
Clean gently with mild soap and water, then dry thoroughly.
Bring smaller pieces indoors during heavy frost, storms, or heatwaves.
Reapply a clear protective coat once a year to refresh the barrier.
Avoid placing sculptures directly on damp soil or grass to prevent moisture damage and staining.
Use a raised base or plinth so water doesn’t pool around the bottom.
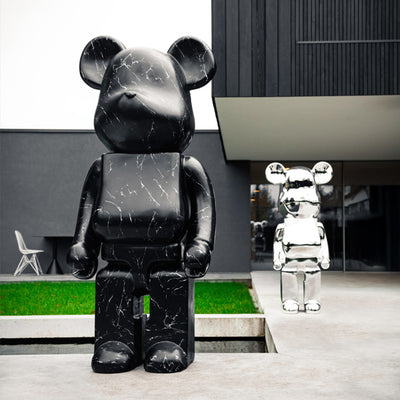
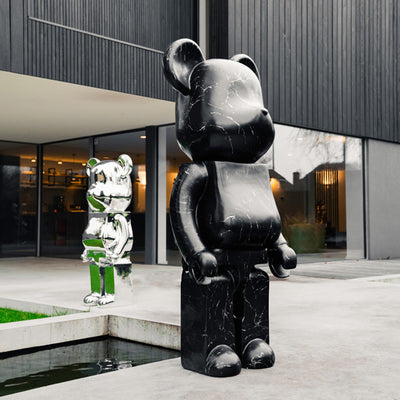
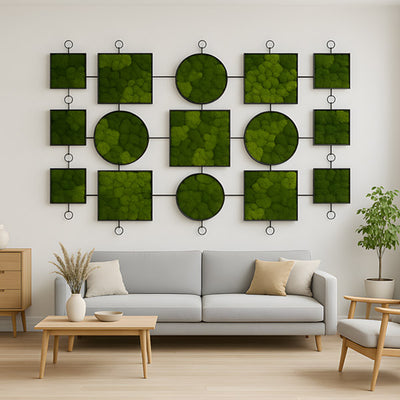
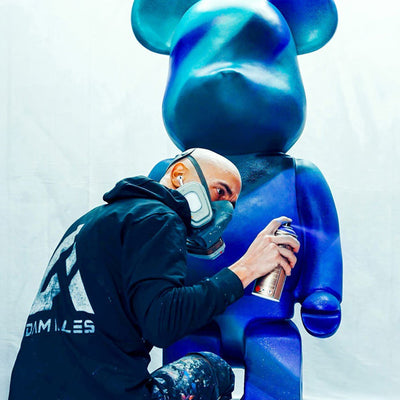
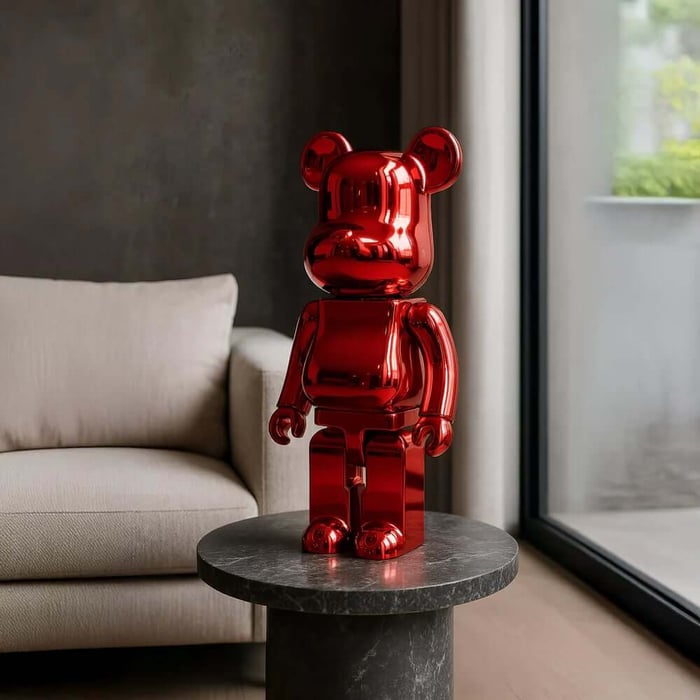
Getting ahead of it is easier than trying to restore a sun-tired piece later, especially if you’re making character pieces like bear sculptures, where preserving colour and surface detail really matters.
Resin Safety Essentials for Sculpting and Casting
Resin is safe when used correctly, but it still needs to be treated with care. Treat it like any hands-on workshop material, respect it, and you’ll be fine.
Work in a well-ventilated space.
Wear nitrile gloves and an organic-vapour respirator.
Avoid skin contact with uncured resin.
Dispose of resin waste responsibly.
Wear protective goggles to prevent splashes from reaching your eyes.
Keep food and drinks out of your resin workspace to avoid contamination.
If you cast resin often, these habits protect your lungs and skin over time. They also make your workspace cleaner, safer, and far more enjoyable to use.
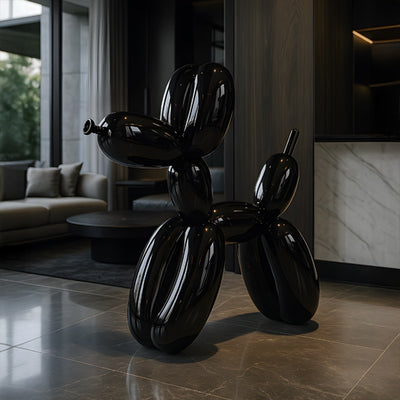
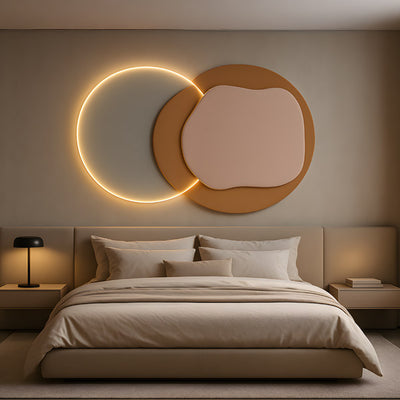
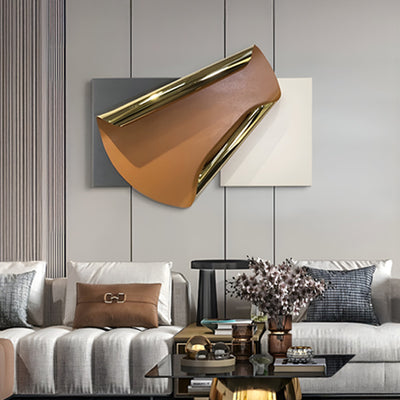
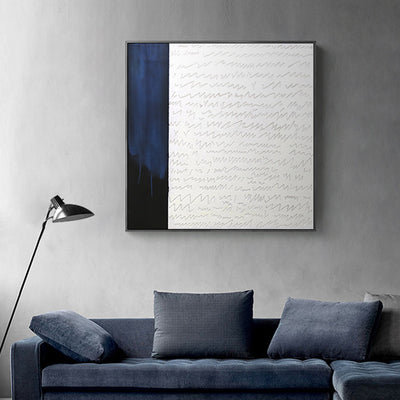
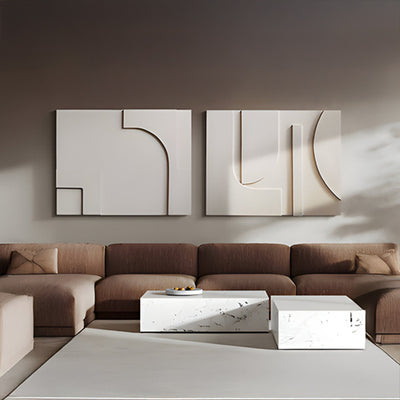
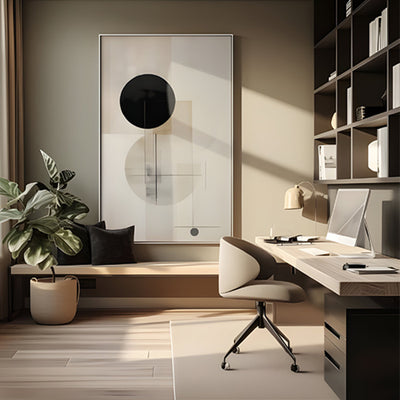
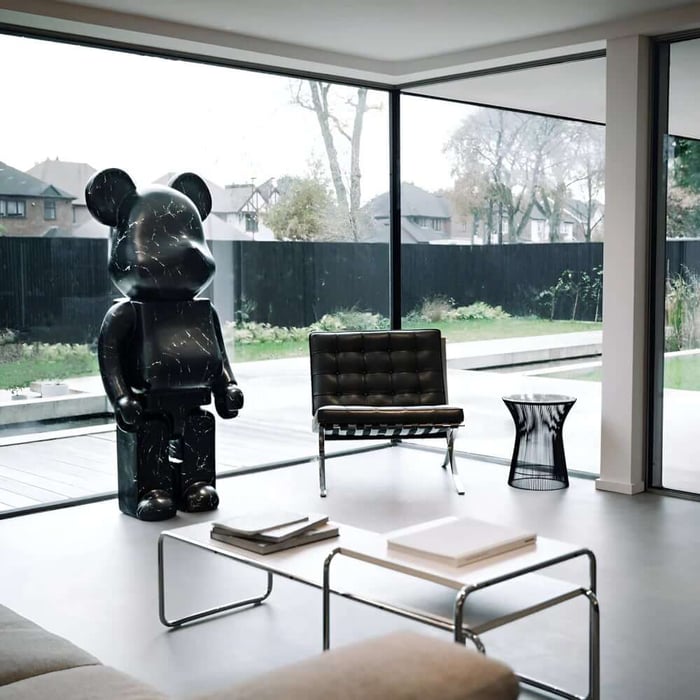
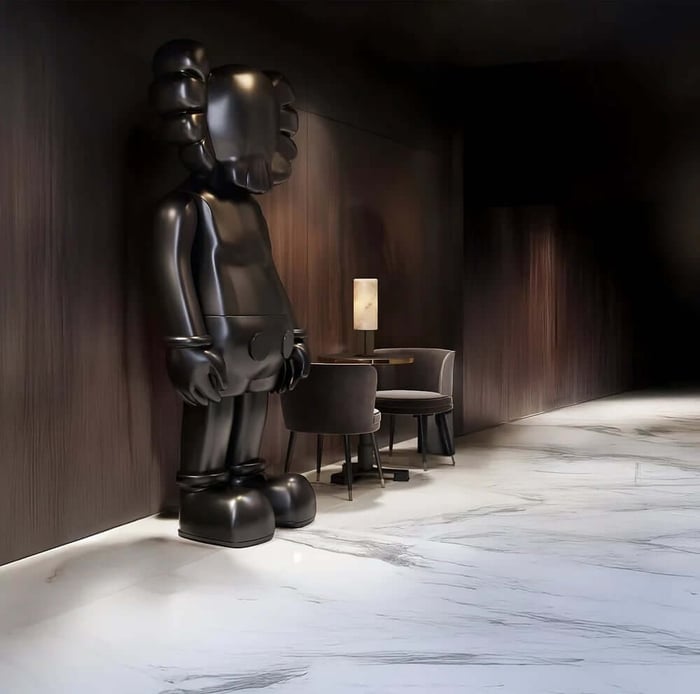
Styling Resin Sculptures in Modern Homes
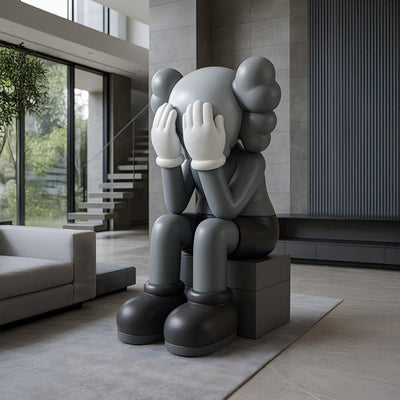
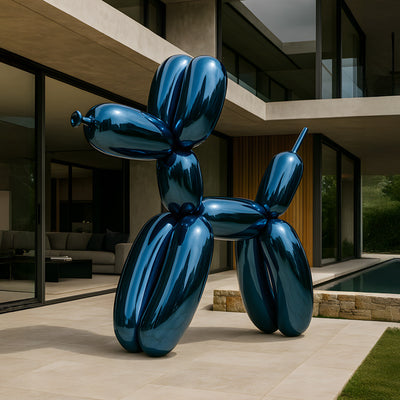
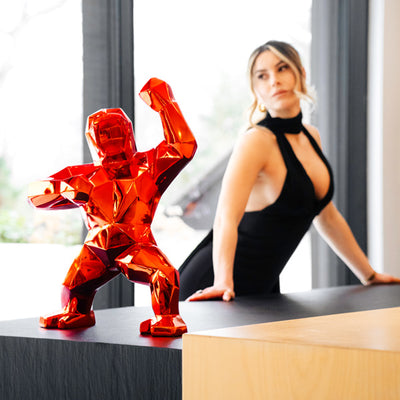
Resin sculptures are perfect for interiors because they deliver real visual punch without the physical heaviness of stone or metal. They’re easy to place, move, and style, which makes them ideal for modern homes and well-put-together rooms.
Easy ways to make them look spot-on:
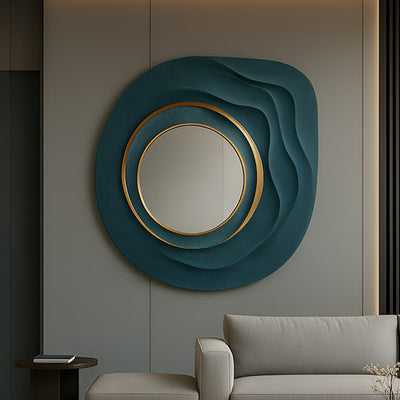
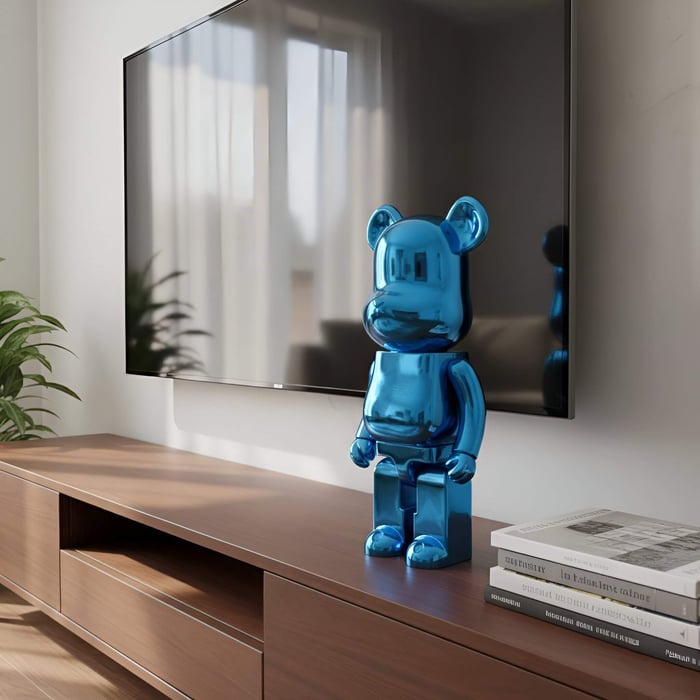
Use light: glossy or translucent resin looks stunning near windows or lamps.
Go for contrast: pair stone-effect resin with warm wood or soft textiles.
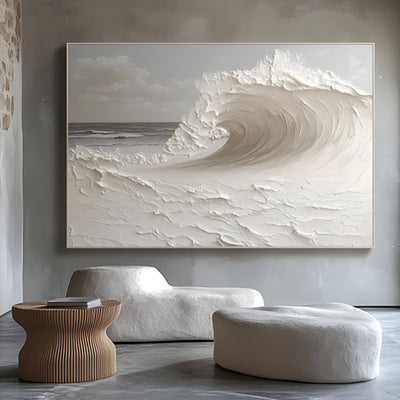
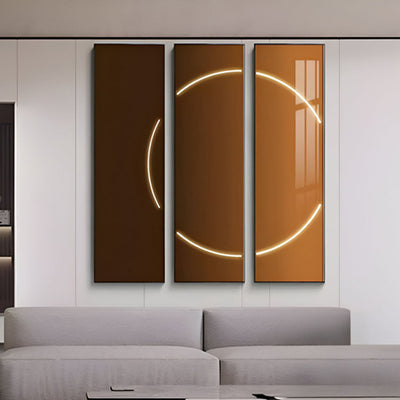
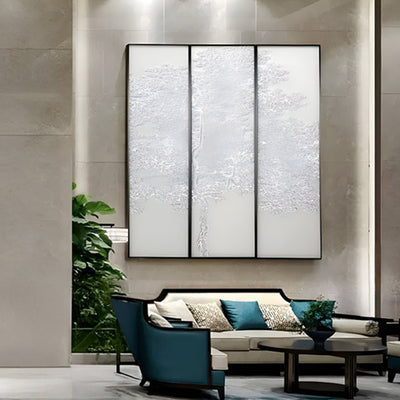
Scale matters: resin lets you go larger, so don’t be afraid of a proper statement piece.
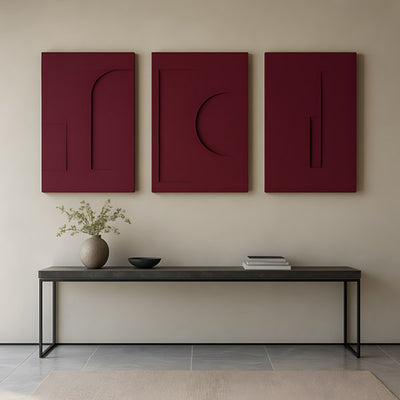
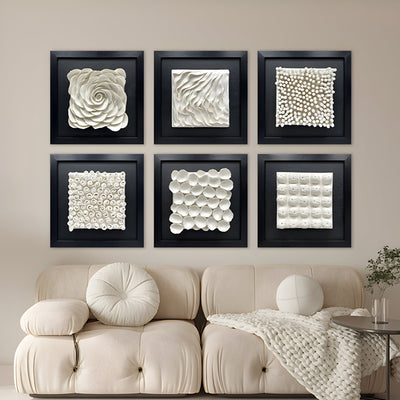
Group thoughtfully: display two or three pieces at different heights for a mini-gallery feel.
Keep breathing room: leave space around the sculpture so its silhouette stands out.
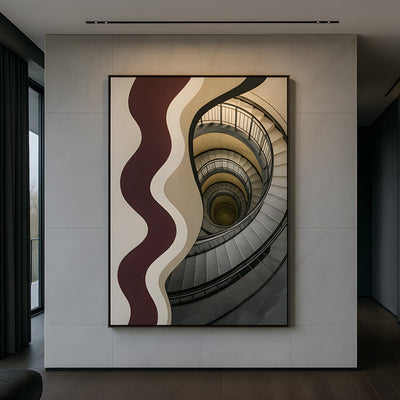
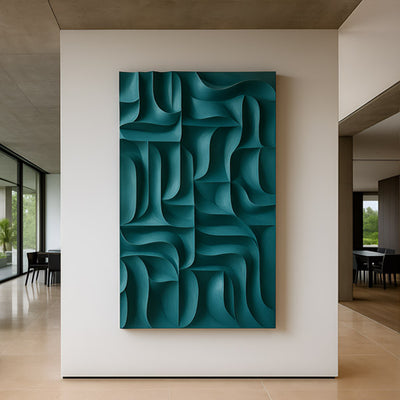
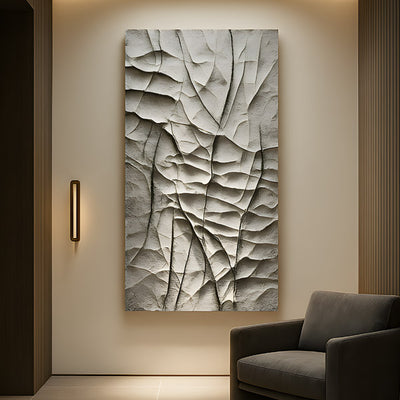
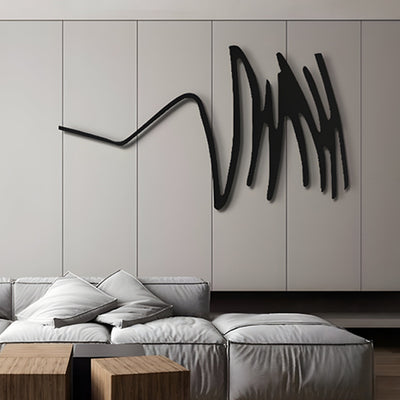
Match the mood: sleek abstract resin suits minimal décor, while textured finishes fit rustic or eclectic rooms.
Anchor with colour: repeat one pigment or tone elsewhere (cushions, art, rugs) for a cohesive look.
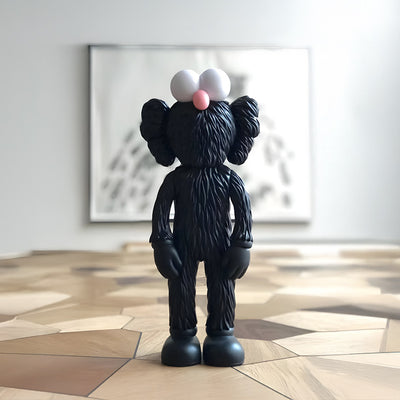
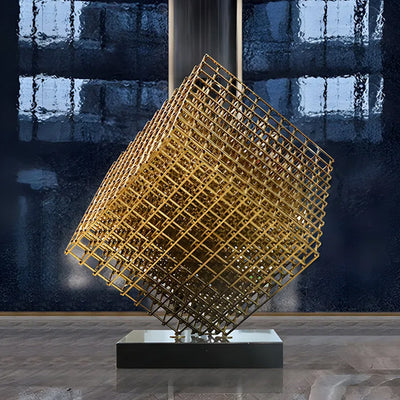
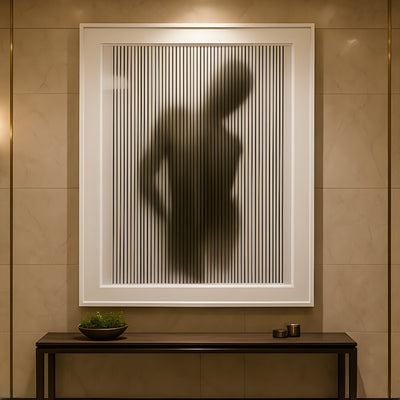
Resin also suits branded or symbolic décor styles, which is why pieces such as iconify sculptures often work brilliantly in entryways, offices, or feature shelves where you want instant visual meaning.
Keeping Resin Sculptures Clear and Glossy Over Time
To keep your resin sculptures looking sharp, a little routine care goes a long way. Gentle cleaning preserves clarity and finish without causing surface damage. With smart placement away from harsh light and rough surfaces, most pieces stay glossy and scratch-free.
Dust weekly with a microfibre cloth.
Clean with mild soap and lukewarm water; avoid harsh chemicals.
Don’t drag pieces over rough surfaces; lift them to prevent scratches.
If shine fades, a light polish brings it right back.
Keep clear or pale resin out of constant direct sunlight to reduce yellowing.
Add small felt pads under the base to stop scuffing and sliding.
With these simple habits, your pieces will stay polished and bright for years. Better still, they’ll keep that just-bought glow every time someone walks into the room.

Conclusion: Bringing Resin Sculptures Into Your World
FAQs
Are resin sculptures durable?
Yes once fully cured, resin is tough, long-lasting, and resistant to everyday knocks.
Which resin is best for beginners?
Epoxy resin is best for beginners because it’s clearer, slower-curing, and easier to control.
How do I stop bubbles in resin sculptures?
Mix slowly, pour in a thin stream, tap the mould, and use a quick heat-gun pass to pop bubbles.
Can resin sculptures be used outdoors?
They can, but only with UV protection and proper sealing to prevent yellowing and surface wear.
How do I keep resin sculptures shiny and clear?
Dust regularly, clean gently with mild soap, avoid harsh sunlight, and re-polish if the surface dulls.