


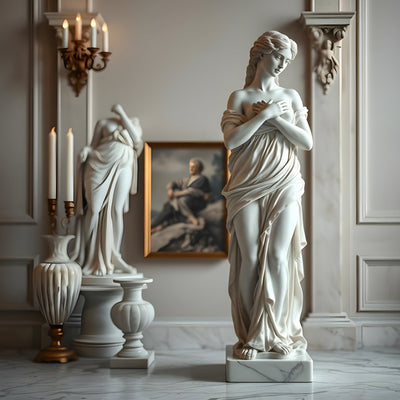


Marble sculptures make striking focal points in any home or garden, but their substantial weight and delicate surfaces carry risks if installed improperly. A single misstep can crack a base, chip a corner or even injure someone. Yet with thoughtful planning and the right approach, you can showcase these works of art confidently, knowing they’re secure, stable and protected against the elements. Whether you’re mounting a small indoor bust on a pedestal or anchoring a large outdoor wildlife sculpture in your garden, each setting demands its own considerations: weight capacity, substrate type, drainage, UV exposure and foot traffic.
In this step-by-step guide, we’ll cover everything you need: how to plan your installation, prepare the site, select appropriate hardware and tools, execute the mounting process, apply essential safety measures and finish with lighting, maintenance and troubleshooting tips. Follow these expert recommendations to enjoy your marble statues for a lifetime, both indoors and out.

Planning Your Installation
Assessing Weight and Dimensions
Before you move a single slab of marble, note your sculpture’s height, width and depth. Estimate its weight (many small to medium pieces weigh 20–50 kg; large outdoor sculptures can exceed 200 kg). Verify that your chosen floor, patio or pedestal can bear this load, consult a structural engineer for very heavy works.
Choosing the Right Location
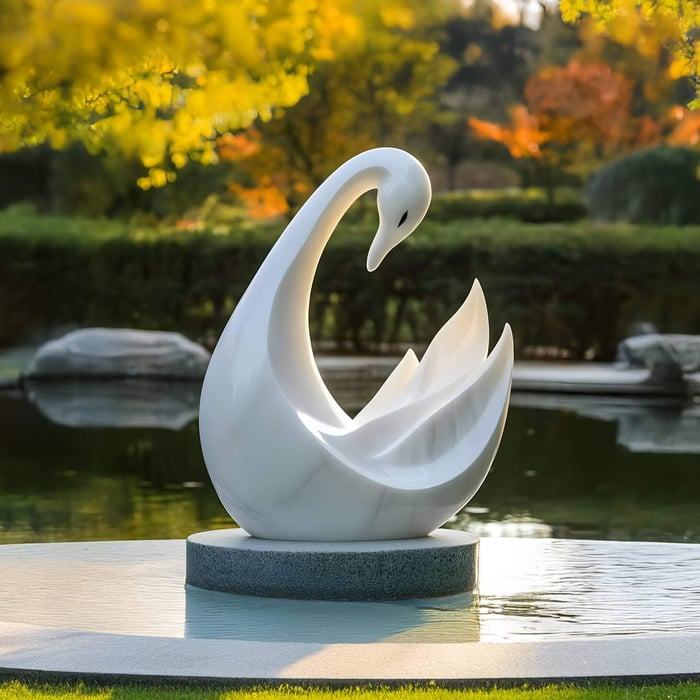
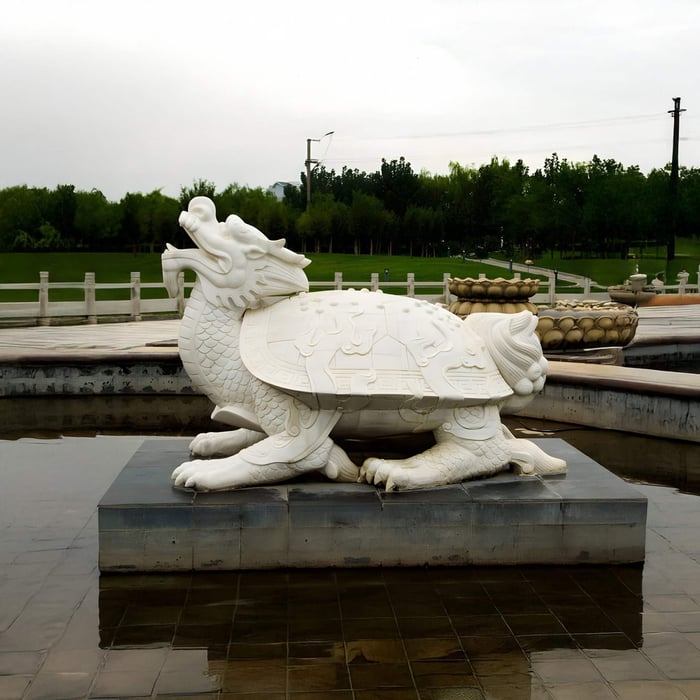
Decide whether your marble sculpture belongs indoors or out. Indoors, avoid spots with direct sunlight or high humidity, marble statues can yellow over time if exposed to UV rays. Outdoors, pick a level, well-draining site away from constant foot traffic. Gardens, patios and entryways make excellent showcases for garden sculptures.
Visual Impact and Sight-Lines
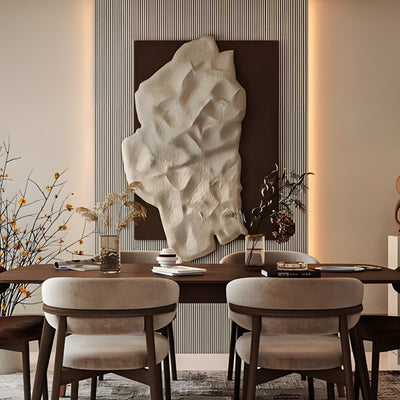
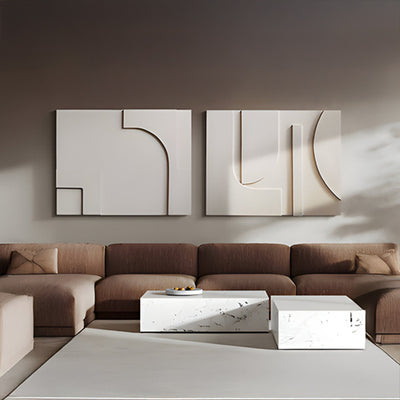
Consider sight-lines: place your piece where it’s visible upon entering the room or garden. Align a wildlife sculpture beside natural foliage to echo animal forms. For indoor marble sculptures, position near a light source to highlight the stone’s subtle veining.

Preparing the Site
Surface Inspection and Levelling
Inspect the floor or ground for cracks, slopes or loose pavers. Use a spirit level and straightedge to identify uneven areas. For indoor display, ensure the floor is level to within 2 mm over the sculpture’s footprint. Outdoors, dig a shallow pit, lay a gravel bed, then compact and level it.
Foundation Requirements
Indoor Pedestals: Choose a pedestal rated for the sculpture’s weight, ideally with a broad base and non-slip surface.
Outdoor Bases: Pour a small concrete pad or set heavy pavers on compacted gravel. This prevents settling and tilting over time, even under frost and rain.
Drainage and Frost Protection
For outdoor installations, incorporate a slight pitch away from the sculpture to direct water flow. In cold climates, ensure your base materials won’t crack, use frost-resistant aggregates and sealants.
Selecting Hardware & Tools
Anchoring Systems
French Cleats: Ideal for large indoor marble sculptures; two-piece interlocking cleats distribute weight evenly.
Anchor Bolts & Dowels: Masonry anchors secure marble to concrete bases or walls. Use stainless-steel bolts to resist corrosion.
Ground Spikes & Mounting Plates: For garden sculptures, heavy-duty spikes driven into compacted soil or mounting plates set in concrete offer stability.
Lifting and Positioning Aids
Furniture Sliders: Foam or Teflon pads under the base help shift heavy pieces across smooth floors.
Suction-Cup Handles: Provide grip on polished marble surfaces without surface damage.
Lifting Straps/Slings: Distribute weight ergonomically, perfect for moving large marble sculptures.
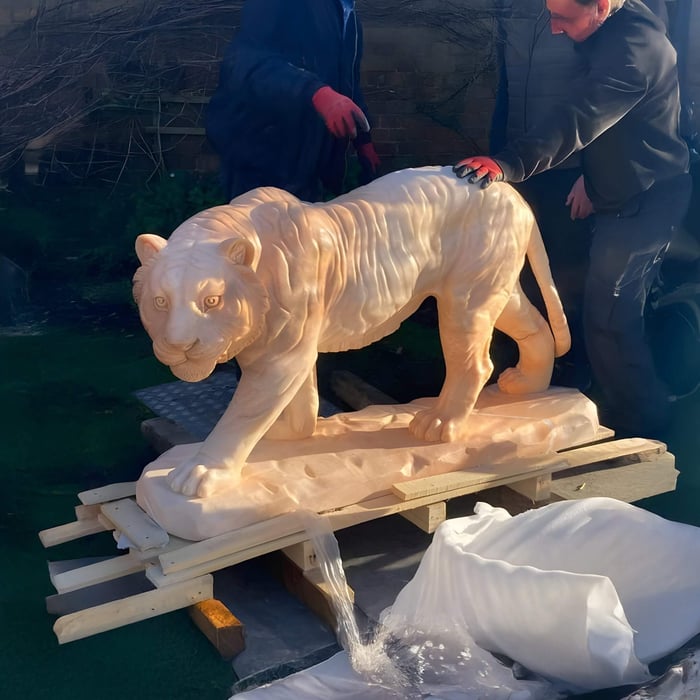
Professional Rigging: For sculptures over 100 kg, hire stone riggers to operate hoists and ensure safety.
Step-by-Step Installation Process
Dry-Fit the Sculpture
Place the sculpture on its pedestal or base without anchors. Confirm orientation, sight-lines and clearance.Mark Mounting Points
Transfer cleat positions or bolt locations to the wall or base using a pencil. Double-check measurements with a tape measure and spirit level.Drill and Install Anchors
Masonry Drill Techniques: Use a carbide-tipped drill bit matched to your anchor size.
Torque Settings: Drive bolts to manufacturer-recommended torque, around 5–8 Nm for small anchors, higher for large.
Attach Mounting Hardware
Fix the bottom half of the French cleat or mounting plate. For outdoor statues, secure spikes or plates in the concrete pad, leaving threads exposed for attachment.Set the Sculpture
With a helper or lifting straps, align the sculpture’s hardware to the mounted anchors or cleat. Lower gently into place, using shims to fine-tune the level.Verify Stability
Gently nudge the sculpture from different angles. There should be zero movement. If you detect wobble, tighten bolts or add rubber shims for grip.
Safety Measures and Best Practices
Personal Protective Equipment: Wear gloves, safety goggles and steel-toe boots when drilling or lifting.
Weight-Distribution Checks: Ensure pads or pedestals spread the load evenly, uneven stress can crack the marble.
Regular Inspections: Every six months, check anchor bolts, mounting plates and pedestal integrity. Tighten or replace corroded parts immediately.
Display Tips for Maximum Impact
Pedestal Selection: Choose a pedestal height that places the sculpture’s focal point at eye level, around 150 cm from floor to centre.
Lighting Considerations: Use up-lights or spotlights to accentuate the marble’s veining. For outdoor wildlife sculptures, solar-powered LED add drama after dusk.
Grouping Pieces: In larger gardens or hallways, space sculptures at least 2 m apart to allow clear sight-lines and walking paths. Avoid clutter.
Maintenance & Long-Term Care
Marble Care Guide: Clean with a pH-neutral stone cleaner, avoid acidic or abrasive products that etch the surface.
Stone Sealing Tips: Reapply a penetrating stone sealer annually on outdoor sculptures to repel water and prevent staining.
Winterising Marble Sculptures: Cover or move indoors if possible; otherwise, apply a breathable frost-resistant cover and clear snow promptly.
Epoxy Marble Repair: For minor chips, use a colour-matched epoxy filler and fine sandpaper; follow by a gentle polish.
Troubleshooting Common Issues
Loose Anchors: Retighten bolts; if threads strip, replace with slightly larger anchors.
Shifting Bases: Re-level the ground, add compacted gravel or reset the concrete pad.
Surface Stains: Apply a poultice of baking soda and water to draw out organic stains; rinse thoroughly.
Cracks: Consult a professional stone conservator for structural cracks; surface hairlines can be filled with epoxy.
Conclusion & Next Steps
Thorough planning and the right hardware are the foundation of a safe, stunning marble sculptures installation. By accurately assessing weight and dimensions, preparing level bases or sturdy pedestals, and choosing robust mounting systems, whether French cleats indoors or ground spikes outdoors, you protect both your sculpture and its surroundings. Regular safety checks, proper lighting, and thoughtful placement ensure your piece remains both secure and visually striking.
Approach each installation methodically: map out sight-lines, test-fit before drilling, and follow manufacturer guidelines for anchors and sealants. This careful process not only keeps your sculpture stable but also enhances its aesthetic impact, turning your space into a gallery that celebrates stone artistry.
Ready to transform your home or garden? Explore our wide range of marble sculptures at Giant Sculptures, and commission your own bespoke piece today.